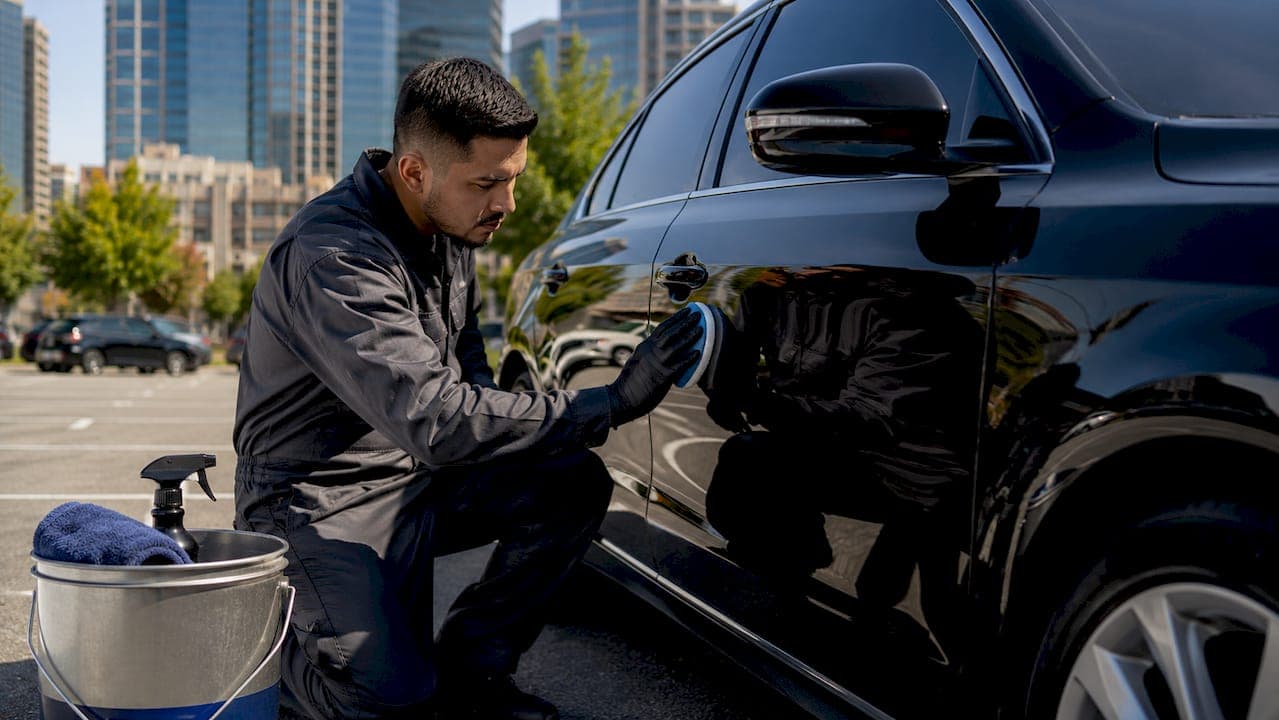
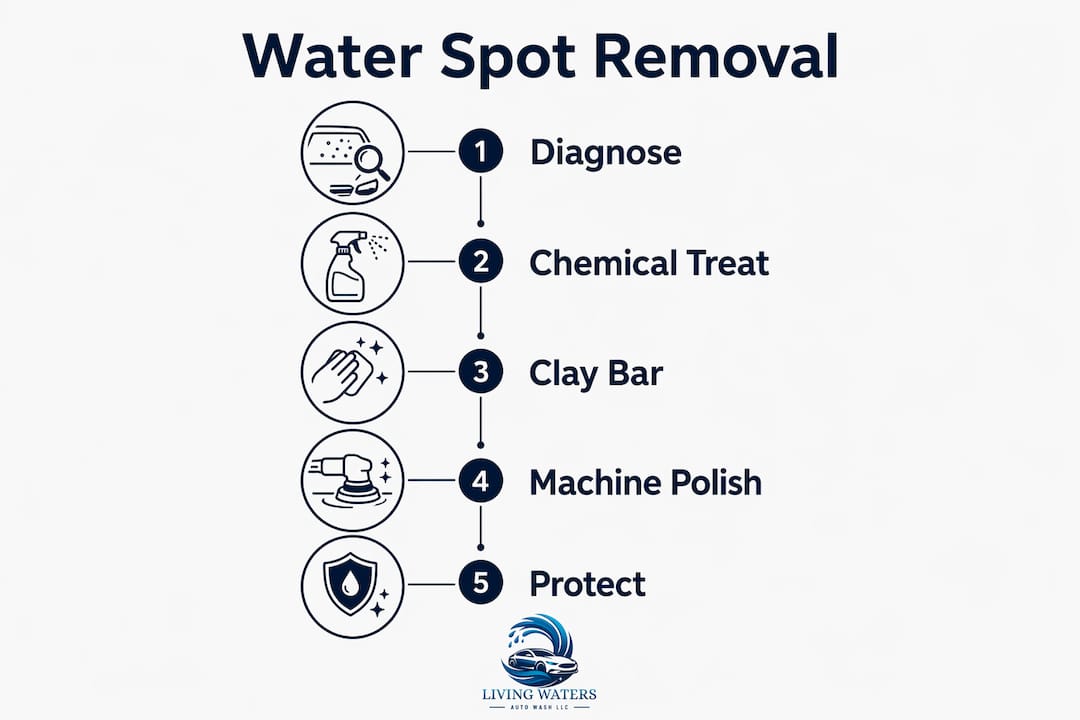
Water spots are mineral deposits left on paint when water evaporates before it is wiped away, and professional detailers remove them by first identifying the spot type and applying the least invasive chemical treatment before escalating to mechanical polishing. The chemistry-first approach is the industry standard because it protects clear coat thickness while dissolving the mineral bond. Skipping straight to abrasive pads is the most common mistake car owners make, and it causes unnecessary paint damage. Understanding how detailers remove water spots starts with knowing that not all spots are equal.
What are the different types of water spots on cars?
Water spots fall into three distinct categories, and the category determines the correct removal technique. Treating a Type 3 spot like a Type 1 wastes time. Treating a Type 1 spot with machine polishing removes clear coat you did not need to touch.
Type 1: Surface mineral deposits. These are the most common spots. Hard water leaves calcium and magnesium salts on the paint surface after evaporation. The paint underneath is undamaged. You can often feel these spots as a slight roughness, but your fingernail slides over them without catching.
Type 2: Shallow clear coat etching. Here, acidic water or prolonged mineral contact has physically etched into the top layer of clear coat. Your fingernail catches slightly on the edge of the spot. Chemical treatment alone will not fix this. Machine polishing is required to level the surface.
Type 3: Deep clear coat or base coat damage. The etching has penetrated through the clear coat into the color layer. These spots look dull, discolored, or hazy even after cleaning. Professional refinishing or respraying is the only reliable fix.
| Type | Visual cue | Fingernail test | Recommended approach |
|---|---|---|---|
| Type 1 | White or chalky rings | No catch | Mild acidic water spot remover |
| Type 2 | Dull haze, slight depression | Slight catch | Machine polish with light cutting compound |
| Type 3 | Discoloration, hazy patch | Definite catch | Professional refinishing or respray |
Pro Tip: Run your fingernail lightly across the spot before reaching for any product. That single test tells you more about the spot type than any visual inspection alone.
Misreading the type is where most DIY attempts go wrong. Applying a heavy cutting compound to a Type 1 spot removes clear coat for no reason. Starting with chemistry on a Type 3 spot wastes product and time. Diagnosis first, treatment second.
What chemical treatments do detailers use for Type 1 water spots?
Dedicated water spot removers with a pH of 4–5 are the correct first tool for surface mineral deposits. That mild acidity dissolves the calcium and magnesium salts without attacking the clear coat. Household vinegar sits at pH 2.4, which is significantly more aggressive and leaves residue that can cause secondary damage. Professional detailers do not use vinegar as a primary treatment.
Proper application technique matters as much as product choice. Follow these steps for safe chemical removal:
- Park the vehicle in shade and confirm the paint is cool to the touch. Heat accelerates product drying, which concentrates the acid and risks etching.
- Rinse the panel with clean water to remove loose dirt before applying any chemical.
- Apply the water spot remover to a soft foam or microfiber applicator, not directly onto the paint.
- Work in sections of 2–3 square feet. Larger sections dry before you can rinse, creating new damage.
- Allow a dwell time of 30–60 seconds for Type 1 spots. Do not let the product dry on the surface.
- Cover the treated area with a damp microfiber cloth during dwell time. This prevents chemical flash drying and extends the chemical action safely.
- Rinse thoroughly with clean water and neutralize the surface. Residual acid left on paint continues to work after you stop intending it to.
- Dry immediately with a clean microfiber towel.
One important nuance applies to ceramic-coated vehicles. On those surfaces, many Type 1 spots sit on top of the coating rather than on the paint itself. pH-neutral spray or mild soap often lifts them without any acid treatment. Using aggressive acid on a ceramic coating degrades its hydrophobic properties, which defeats the purpose of having the coating.
Pro Tip: Always test your water spot remover on an inconspicuous area first, such as the lower door jamb or behind a mirror. A test spot prevents panel-wide mistakes if the product reacts unexpectedly with your specific clear coat.
When do detailers escalate to clay bars and machine polishing?
Chemical treatment handles the majority of water spot cases. When it fails, the spot has either bonded too deeply for acid to dissolve or has physically etched the clear coat. That is when detailers move to mechanical methods, always in a stepwise order to minimize clear coat removal.
Clay bar treatment for bonded contaminants
Clay bars remove bonded contaminants that chemical treatments leave behind. The clay physically shears mineral deposits off the surface without abrasion in the traditional sense. The surface must be clean, cool, and well-lubricated with a dedicated clay lubricant spray. Never use clay on a dry panel. Work in straight lines, not circles, and fold the clay frequently to expose a clean face. After claying, the paint should feel glass-smooth. If spots remain visible after this step, you are dealing with Type 2 etching.
Machine polishing for Type 2 etching
- Start with the least aggressive combination: a light cutting polish on a foam finishing pad.
- Run a test spot on a small section of the affected panel before committing to the full area.
- If the light polish removes the etch, stop there. Do not continue with a heavier compound.
- If the light polish shows no improvement after two passes, step up to a medium cutting compound on a foam cutting pad.
- Heavy compounds and wool pads are a last resort for Type 2 spots. They remove clear coat quickly and leave deeper swirl marks that require additional polishing steps.
- After any polishing step, wipe the panel clean and inspect under direct light before continuing.
The goal is to remove the minimum amount of clear coat needed to level the surface. Every polishing session thins the clear coat slightly. A car has a finite number of correction cycles before the clear coat is too thin to polish safely.
Pro Tip: Use a paint depth gauge before machine polishing if you own one. Readings below 80 microns on a factory panel signal that the clear coat is already thin and further polishing carries real risk.
Type 3 spots require professional refinishing. No amount of polishing corrects damage that has reached the base coat. Attempting it only thins the surrounding clear coat without fixing the discoloration.
How do detailers protect paint after water spot removal?
Removing water spots without applying a protective layer afterward is the equivalent of fixing a roof and leaving it without shingles. The bare or freshly polished clear coat is now more vulnerable than before treatment. Post-removal protection with wax, sealant, or ceramic coating is not optional.
- Carnauba wax provides a warm visual depth and a sacrificial layer that takes the mineral bonding instead of the clear coat. It lasts 4–8 weeks under normal conditions.
- Paint sealants bond to the clear coat chemically and last 3–6 months. They offer stronger water beading than wax, which helps water sheet off before it can evaporate and leave deposits.
- Ceramic coatings create the most durable barrier. A professionally applied ceramic coating lasts years and significantly reduces how aggressively minerals bond to the surface.
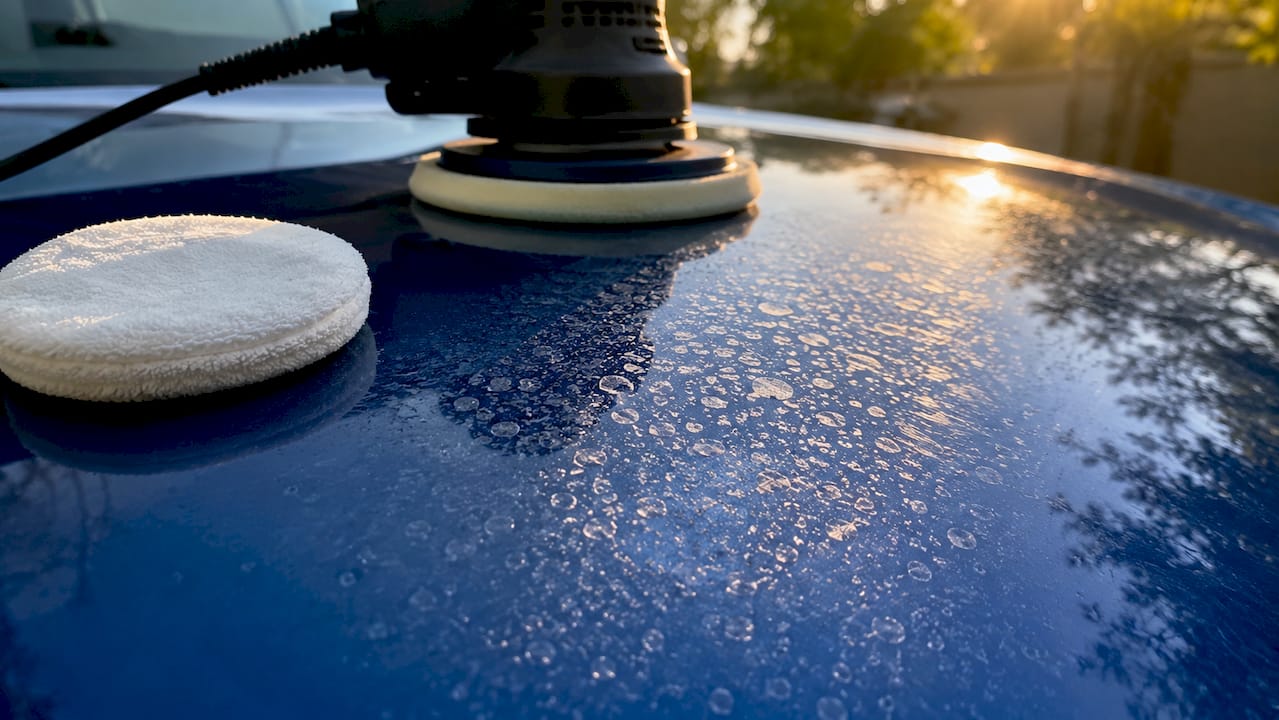
The single most effective prevention tactic is drying the vehicle immediately after every wash. Meticulous drying after washing eliminates the conditions that create water spots in the first place. No water sitting on paint means no mineral deposits. This one habit reduces the need for any chemical or mechanical removal.
For ongoing maintenance between full details, a spray wax or quick detailer applied after each wash refreshes the protective layer and adds a slick surface that water beads off more aggressively. Check the Living Waters Auto Wash blog for guidance on choosing between wax, sealant, and ceramic options based on your vehicle's condition and how often you wash.
Pro Tip: Apply your chosen protectant within 30 minutes of finishing the correction. The clean, open surface bonds more effectively with fresh product than a panel that has been sitting for hours.
Key Takeaways
Effective water spot removal depends on accurate diagnosis first, chemistry second, and mechanical correction only when chemistry fails.
| Point | Details |
|---|---|
| Diagnose before treating | Use the fingernail test to identify Type 1, 2, or 3 spots before selecting any product. |
| Chemistry before abrasion | Apply a pH 4–5 water spot remover before reaching for a clay bar or polishing machine. |
| Control dwell time | Cover treated areas with a damp microfiber cloth to prevent product drying during the 30–60 second dwell. |
| Escalate gradually | Start with light cutting polish and step up only if the previous method shows no improvement. |
| Protect after correction | Apply wax, sealant, or ceramic coating immediately after removal to prevent rapid re-spotting. |
What I have learned from years of treating water spots
The most damaging myth in detailing is that more pressure and more abrasion equal better results. Car owners reach for a polishing machine first because it feels decisive. The reality is that chemistry does the heavy lifting on the vast majority of water spots, and mechanical correction is a fallback, not a first move.
What I have seen repeatedly is that the diagnosis step gets skipped. Someone notices spots, grabs a compound, and starts polishing. Three passes later, the spots are gone but so is a measurable layer of clear coat. That clear coat does not grow back. The car now has fewer correction cycles left in its life.
The chemistry-first approach is not timid. A properly applied water spot remover with the right dwell time and damp microfiber cover dissolves mineral bonds that look permanent. The paint underneath comes out unscathed. That is the outcome you want every time.
Prevention is genuinely superior to removal. Avoiding water drying on hot panels, drying the car immediately after washing, and maintaining a protective coating layer removes the problem before it starts. When you do need to treat spots, start conservatively. The clear coat you preserve today is the paint correction you will not need next year.
When you are unsure whether a spot is Type 2 or Type 3, stop and get a professional opinion before polishing. Guessing wrong and over-polishing a thin clear coat is a mistake that costs far more to fix than a professional assessment would have.
— Living
Living Waters Auto Wash brings professional water spot removal to your driveway
Water spot removal done right requires the correct diagnosis, the right products, and the right protective finish afterward. Living Waters Auto Wash delivers exactly that, with fully mobile detailing services in Boca Raton, Pompano Beach, Coral Springs, and Parkland. No shop visit, no waiting room, no compromises.

The Living Waters Auto Wash team uses industry-standard chemistry-first protocols, proper dwell time management, and post-correction protective coatings on every vehicle. Whether you are dealing with surface mineral deposits or deeper etching, the team brings the right tools and products directly to you. Explore mobile detailing services in Parkland or book across the full South Florida service area at lwautowash.com.
FAQ
What causes water spots on car paint?
Water spots form when water evaporates on paint and leaves behind dissolved minerals, primarily calcium and magnesium. Hard water and sprinkler systems are the most common sources.
How do detailers remove water spots without damaging paint?
Detailers follow a chemistry-first approach, applying a pH 4–5 water spot remover in small sections on cool, shaded paint before considering any mechanical method. This dissolves mineral deposits without touching the clear coat.
Can water spots be removed with vinegar?
Household vinegar is not recommended as a primary treatment. Its pH of approximately 2.4 is more aggressive than professional water spot removers and leaves residue that can cause secondary damage to the clear coat.
When do water spots require machine polishing?
Type 2 spots that have etched into the clear coat require machine polishing after chemical treatments fail. Type 3 spots with base coat damage require professional refinishing, not polishing.
How do you prevent water spots from coming back?
Drying the vehicle immediately after every wash is the most effective prevention method. Applying a protective layer of wax, sealant, or ceramic coating after any correction treatment significantly reduces mineral bonding on future washes.
Recommended
- How to Know if You're Getting Quality Mobile Detailing | Living Waters Auto Wash
- 5-Star Mobile Detailing in Boca Raton, Pompano Beach, Coral Springs, Parkland & Palm Beach County | Living Waters Auto Wash
- 5-Star Mobile Detailing in Boca Raton, Pompano Beach, Coral Springs, Parkland & Palm Beach County | Living Waters Auto Wash