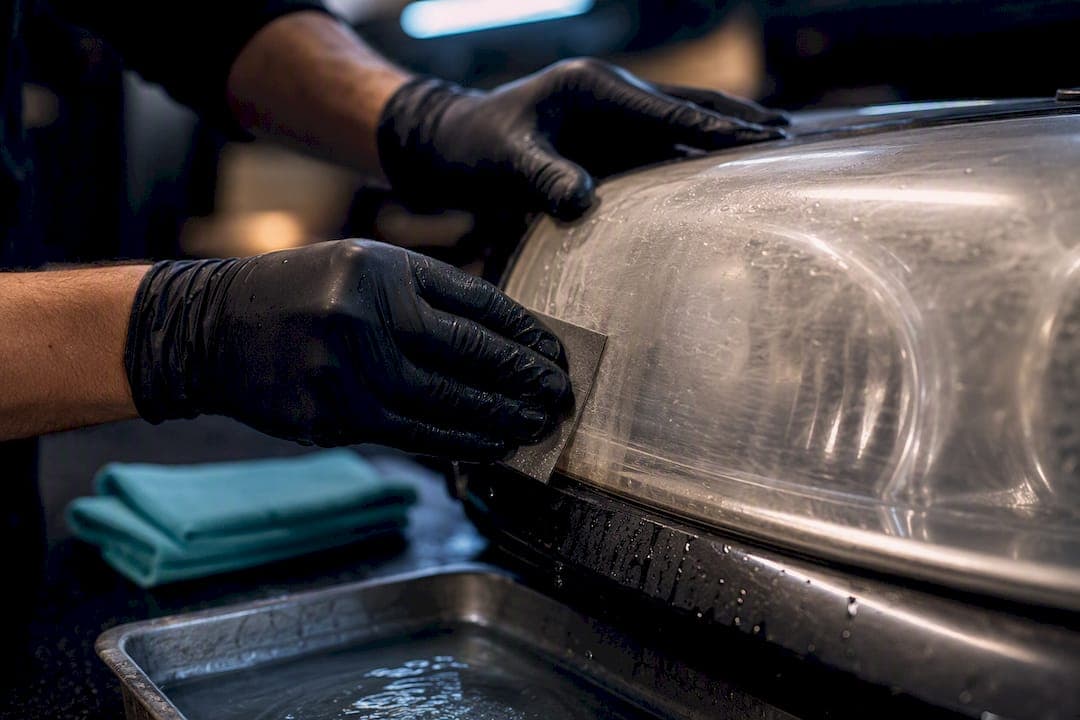
A toothpaste rub or a WD-40 wipe will clear haze for a few weeks at best, and neither blocks UV rays, so the fog comes right back. The fix that actually lasts is wet sanding the lens down through progressively finer grits, polishing it to a clear finish, and sealing it with a UV-blocking coating, or having a professional like Living Waters Auto Wash LLC do that same process on-site.
TL;DR:
- Wet sanding with progressively finer grits followed by polishing and sealing provides a lasting restoration, unlike short-term fixes like toothpaste or WD-40.
- Proper headlight restoration typically takes 60 to 120 minutes per lens and costs between $20 and $40 when done DIY, with professional services offering quicker and more consistent results.
- Moisture trapped inside the housing can cause fogging that cannot be fixed with surface cleaning and may require resealing or housing replacement.
- Applying a UV-blocking layer within two days of polishing is crucial to prevent rapid yellowing and oxidation in sunny climates.
- Professional restoration controls variables like sanding pressure and moisture checks, reducing the risk of damage and ensuring longer-lasting results compared to DIY methods.
Table of Contents
- Quick Fixes vs. True Restoration: What Actually Works
- How Do You Restore Cloudy Headlights for Good?
- What Supplies Do You Need, and What Should It Cost?
- Why Won't My Headlights Get Clear? Diagnosing Internal Moisture
- How Do You Keep Headlights From Yellowing Again?
- What Do Professional Detailers Do Differently?
- A Detailer's Notes on Common DIY Mistakes
- Book a Mobile Headlight Restoration With Living Waters Auto Wash
- Sources
Quick Fixes vs. True Restoration: What Actually Works
Toothpaste and baking soda work because they're mild abrasives. Rubbed hard enough, they knock down the top layer of oxidized plastic and the lens looks clearer for a bit. The problem is what's left behind: raw, unprotected polycarbonate with no clear coat to shield it. Sunlight starts breaking it down again almost immediately, and most drivers see the fog return within a few weeks.
WD-40, bug spray, and similar oily sprays work on a completely different principle. They don't remove anything. They fill in the microscopic scratches on the surface with oil, which bends light more evenly and makes the plastic look clear again for a short window, sometimes a day, sometimes a week. It washes off in the next hard rain.
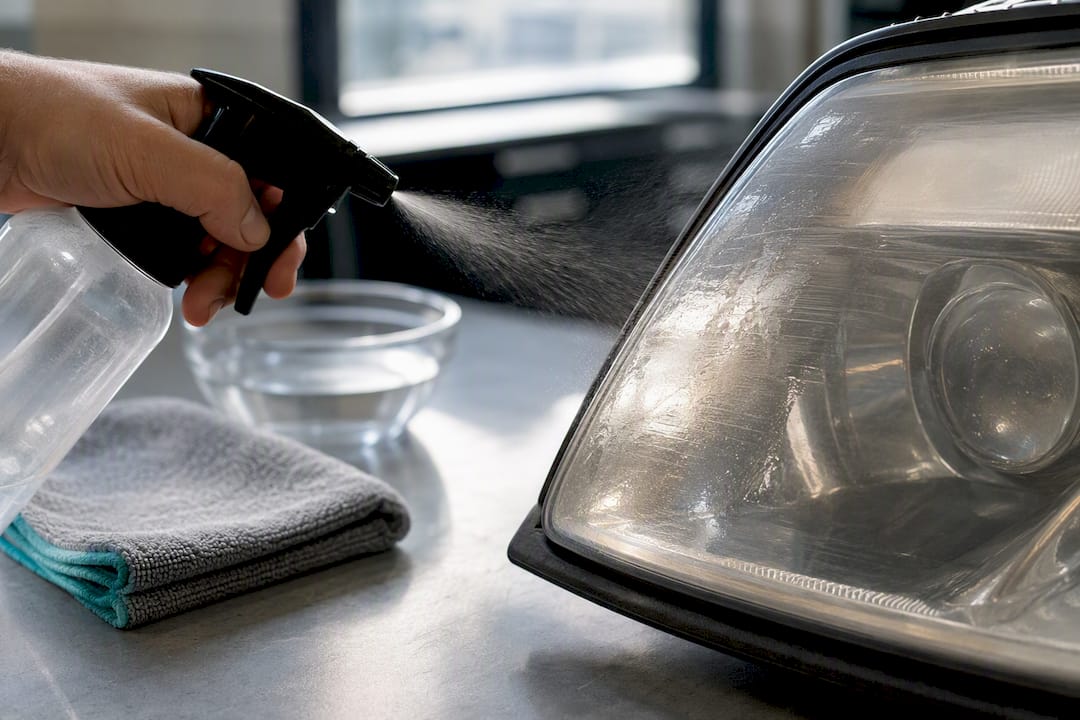
Household hacks like toothpaste and WD-40 give only short-term or superficial results, and neither approach adds UV protection, which is the actual reason headlights turn cloudy in the first place.
Here's when each approach makes sense:
- Toothpaste or baking soda paste: fine for very light haze or an emergency fix before a long night drive.
- WD-40 or similar sprays: fine for a quick fix right before a trip, not a maintenance plan.
- Neither: acceptable if you're dealing with pitting, deep yellowing, or a lens that's been cloudy for over a year.
Pro Tip: If you can still see fine scratches after wiping the lens dry, you're looking at oxidation deep enough that only sanding will fix it. Surface cleaners can't reach that layer.
How Do You Restore Cloudy Headlights for Good?
Wet sanding sounds intimidating until you've done it once. The actual mechanics are simple: you're removing a thin layer of damaged plastic to expose fresh, clear polycarbonate underneath, then sealing that fresh surface before the sun gets to it. Restoration works differently than cleaning because it addresses the actual damaged material instead of just polishing what's on top.
-
Wash and stage the area. Clean the headlight fully, then park the car in the shade. Direct sun dries out sanding water too fast and can warp the plastic if it's overheated during the process. Mask off all surrounding paint with painter's tape, since sandpaper doesn't care whether it's touching plastic or clear coat.
-
Wet-sand in stages. Start around 400 to 800 grit to knock down the worst oxidation, keeping the lens wet the entire time to reduce heat and friction. Move up through 1500, then 2000, then 3000 grit, sanding in a different direction each time you switch grits so you can see when the previous scratch pattern is gone. Skipping grits leaves swirl marks that no amount of polish will fully erase.
-
Polish to clarity. Apply a plastic polish or a dedicated restoration compound with a microfiber pad, either by hand or with a drill and buffing pad. Work in small sections until the haze disappears and the lens looks glassy. This step is where a lot of the "why does my headlight still look foggy" frustration gets solved.
-
Clean and seal. Wipe the lens down with isopropyl alcohol to strip any polish residue, then apply a UV-blocking sealant following the product's instructions exactly. SYLVANIA's UV Block Clear Coat is one widely available option built specifically for this stage. Let it cure fully before the car sees rain or a car wash.
Wear eye protection while sanding, especially with a drill attachment, and keep a spray bottle handy so the surface never runs dry. The two mistakes that ruin this job most often are over-sanding one spot until it's thinner than the rest of the lens, and rushing the grit progression instead of letting each step do its job. A wet-sand progression followed by polish and UV seal is the most reliable DIY method available, and done right, it holds up for one to three years depending on the protection layer you finish with.
What Supplies Do You Need, and What Should It Cost?
Most of this job is sandpaper and patience. Here's what to have on hand before you start:
- Wet/dry sandpaper in 400, 800, 1500, 2000, and 3000 grit
- A plastic polish or restoration compound (rubbing compound works in a pinch)
- A UV-blocking sealant or clear coat kit
- Painter's tape and plastic sheeting for masking
- Microfiber towels, isopropyl alcohol, and a spray bottle of water
Before you touch sandpaper, wash the headlight, tape off the surrounding paint, and consider popping out the bulb if your setup allows easy access. Keep a bucket or hose nearby since the lens needs to stay wet throughout sanding.
Expect the job to run 60 to 120 minutes per headlight for a first attempt, and most complete kits cost between $20 and $40. A professional restoration costs more upfront but saves the learning curve and the risk of damaging the surrounding paint.
Why Won't My Headlights Get Clear? Diagnosing Internal Moisture
Not every cloudy headlight is an oxidation problem. If you've sanded and polished a lens and it still looks foggy, or fogs up specifically after rain or a car wash, moisture is likely trapped inside the housing rather than on the surface.
A few checks tell you what you're dealing with:
- Tap the lens gently. If you hear or feel water sloshing, moisture has already gotten past the seal.
- Remove the bulb or back cover and look for condensation beads on the inside of the plastic.
- Check the rubber gasket around the housing edge for cracks, gaps, or a section that's pulled loose.
If moisture is confirmed but the seal is only mildly compromised, drying the housing out with the bulb removed and running a dehumidifier or low fan for a day, then resealing the gasket with automotive silicone, often solves it. If water keeps coming back after a proper reseal, or the lens itself is cracked, crazed with a spiderweb pattern, or fails restoration repeatedly, that housing has reached the end of its usable life and replacement is the more sensible call.
How Do You Keep Headlights From Yellowing Again?
The window right after polishing is the most fragile part of the entire process. Freshly sanded polycarbonate has zero UV resistance, and if you leave it bare, direct sunlight can start yellowing it again within days. Sealing within 24 to 48 hours of finishing the polish step is what actually makes restoration stick instead of becoming a repeat chore every spring.
Three protection options are worth knowing, each with a different lifespan and price point:
| Protection type | Typical lifespan | Best for |
|---|---|---|
| UV spray sealant | 1 to 3 years | Budget DIY jobs, annual touch-ups |
| Ceramic coating | 2 to 5 years | Drivers who want a longer gap between resealing |
| Paint protection film (PPF) | 5 years | High-sun climates, added impact protection |
Restoration left unprotected tends to re-oxidize within 12 to 18 months in sunny regions, while PPF and ceramic layers stretch that timeline out considerably. For upkeep, inspect your headlights once a year, polish and reseal with a fresh sealant coat as soon as haze reappears, and follow the reapplication schedule for whichever coating you chose. Our UV protection guide breaks down how these layers fit into a broader detailing routine, and proper polishing technique matters just as much as the sealant you put on top of it.
What Do Professional Detailers Do Differently?
A trained detailer controls variables a first-time DIYer usually can't. Sanding pressure stays consistent across the entire lens instead of digging in wherever the arm gets tired, sealant goes on at the correct thickness and cure temperature, and the housing gets checked for internal moisture before anything gets resealed over a problem that's still trapped inside.
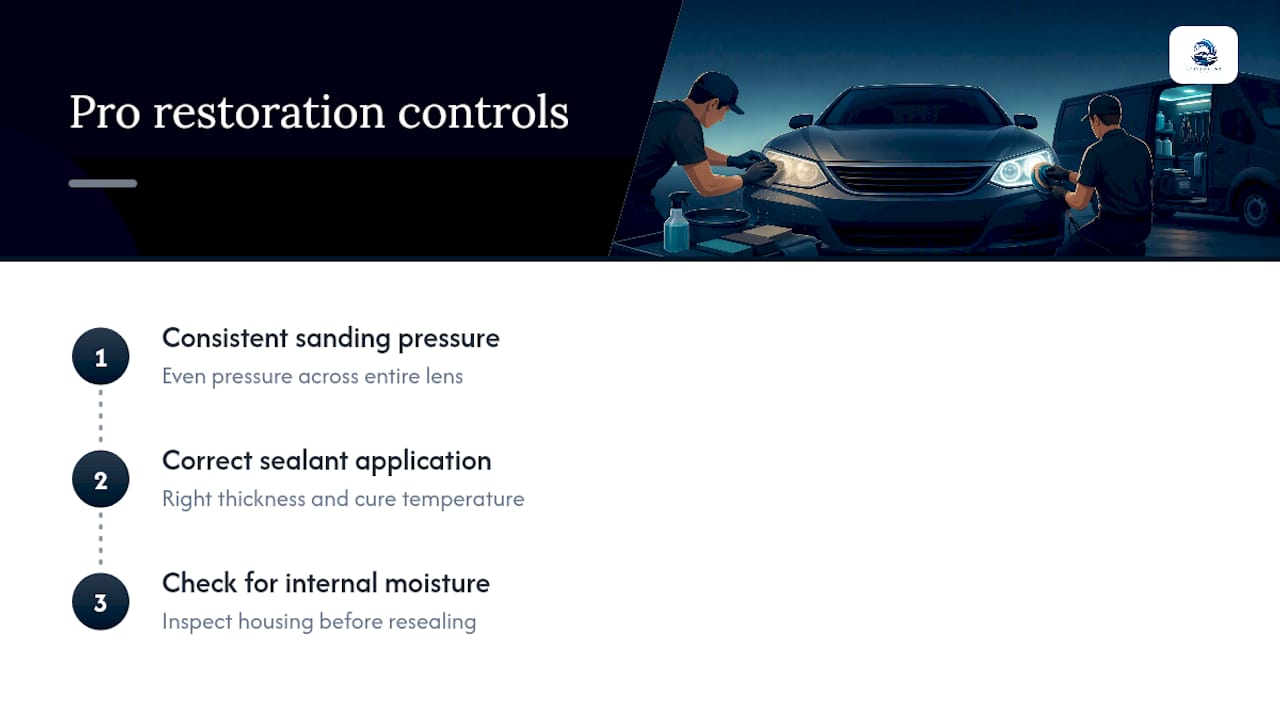
A professional service brings that process directly to the driveway with no need for a customer's water or power hookup. The mobile headlight restoration service uses the same sand, polish, and seal sequence covered above, done by a trained team and backed by the company's 5-star local reputation.
A pro visit is worth the cost when a DIY attempt has failed more than once, when there's moisture inside the housing that needs proper disassembly, or when you'd rather not risk sanding through clear coat onto surrounding paint.
A Detailer's Notes on Common DIY Mistakes
The mistakes that show up most in headlight restoration jobs aren't complicated. Over-sanding one section until it's noticeably thinner, taping off the paint sloppily and getting swirl marks on the hood, and skipping the sealant entirely because the lens "already looks clear" are the three that undo good work fastest.
The habits that actually save time later are just as simple: wash headlights regularly so grime doesn't bake into hairline scratches, park in shade when you can, and give the lenses a once-a-year look for early haze. Catching cloudiness early always means less sanding.
— Living
Book a Mobile Headlight Restoration With Living Waters Auto Wash
Skipping the sandpaper altogether is the real advantage here. A mobile headlight restoration service brings the full sand, polish, and UV-seal process to your driveway or office parking lot, with no water or power hookup needed on your end and no drop-off wait at a shop.
Every mobile restoration follows the same durable process covered in this guide, sanding, polish, and a UV-blocking seal, done by a trained team that also checks for hidden moisture behind the lens before closing anything up. That eco-conscious, on-site approach means your car stays parked exactly where you left it while the work gets done around your schedule instead of the shop's.
Most jobs wrap up in about an hour per vehicle front, and cloudy headlights are just one line item on a longer list that includes full interior detailing, fleet washing, and emergency cleaning. If your headlights are past the point where a quick wipe helps, book a mobile detailing appointment and get the lasting fix delivered to your door.
Sources
- Headlight cleaning hacks that actually work — AAA Club Alliance
- Headlights fogging up from the inside — Phares Automobile
- SYLVANIA UV Block Clear Coat Kit
- How to restore foggy headlights at home — Jaco Superior Products