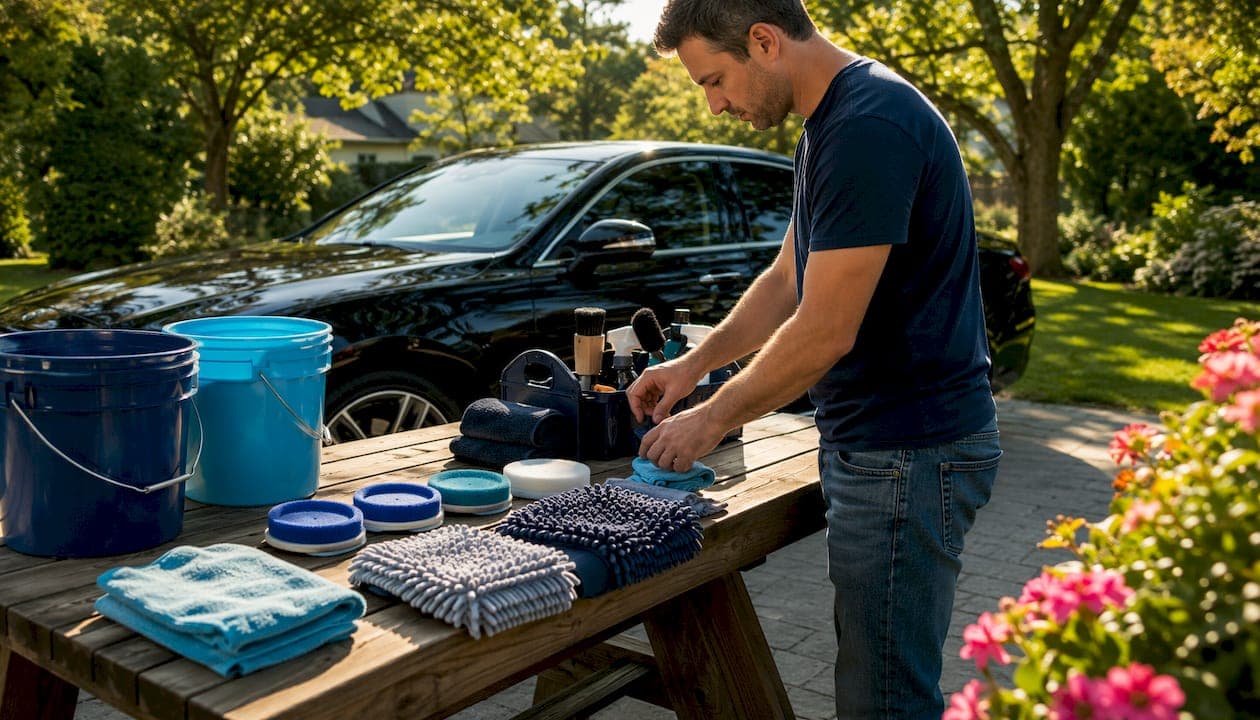
A thorough exterior car detailing checklist covers eight distinct phases: washing wheels and tires first, pre-rinsing and foaming, contact washing with the two-bucket method, drying, chemical decontamination, clay bar treatment, polishing (when needed), and applying a protective wax or sealant. Finishing touches include glass cleaning, trim dressing, and door jamb care. The sequence is not arbitrary. Detailing follows a clear stepwise process from the dirtiest zones to the cleanest, and skipping or reordering steps is the most common reason a DIY detail falls short of professional results.
Here is the full checklist at a glance before each step gets its own breakdown:
- Wheels, tires, and wheel wells (always first)
- Pre-rinse and foam pre-soak to loosen surface grit
- Two-bucket contact wash with a microfiber mitt and pH-neutral shampoo
- Rinse and dry with a capillary microfiber towel
- Chemical decontamination: iron remover, bug and tar remover
- Clay bar treatment to pull bonded surface contaminants
- Polish to correct swirl marks and oxidation (optional)
- Wax, sealant, or ceramic coating for paint protection
- Glass and mirrors with an ammonia-free cleaner
- Trim, moldings, and rubber dressed and protected
- Door jambs and tailpipe wiped and cleaned
- Final inspection in good light
Tools and materials you will need: two buckets with grit guards, a microfiber wash mitt, pH-neutral car shampoo, a foam cannon or pump sprayer, microfiber drying towels, a wheel brush set, iron remover, bug and tar remover, a clay bar with lubricant, polish and foam applicator pads, car wax or synthetic sealant, an ammonia-free glass cleaner, tire dressing, and trim restorer.
Safety note: Always wear nitrile gloves when handling iron removers, tar removers, and wheel cleaners. Work in the shade whenever possible, and never apply chemical products to hot surfaces.
What does a proper exterior car detailing checklist start with?
Washing the paint correctly is the foundation of every good detail, and the single biggest source of paint damage is the wash step itself. Every contact with paint risks micro-scratches, so the goal is to minimize friction by removing as much loose grit as possible before anything touches the surface.
Start with wheels and tires. Brake dust, road grime, and tar accumulate on wheels more than anywhere else on the car. Cleaning wheels first prevents that contaminated overspray from landing on paint you have already washed. Use a dedicated wheel cleaner, a barrel brush for the inner wheel, and a smaller detailing brush for lug nuts and spokes. Rinse thoroughly before moving to the paint.
- Spray wheel cleaner on cool, dry wheels and let it dwell for 2–3 minutes
- Scrub barrels, faces, and lug nut pockets with dedicated brushes
- Rinse wheel wells with a strong stream to flush out packed grime
- Dry wheels before moving to the paint panels
Pre-rinse and foam. A full rinse from top to bottom removes loose dust, pollen, and debris before contact washing begins. Follow with a foam pre-soak using a foam cannon or pump sprayer. The foam clings to the surface and lifts grit so it can rinse away without being dragged across the clear coat. Foam is a pre-wash, not a substitute for the contact wash.
The two-bucket wash method. Fill one bucket with pH-neutral shampoo and water, and a second with clean rinse water. Place a grit guard in each bucket. Dip the mitt into the soap bucket, wash one panel, then rinse the mitt in the clean water bucket before reloading soap. That single habit keeps grit off the paint. Wash from the roof down, using straight overlapping strokes rather than circular ones.
- Use a pH-neutral shampoo, never dish soap, which strips wax and sealant
- Work panel by panel, rinsing each section before soap can dry
- Wash door jambs briefly with a damp mitt and rinse well
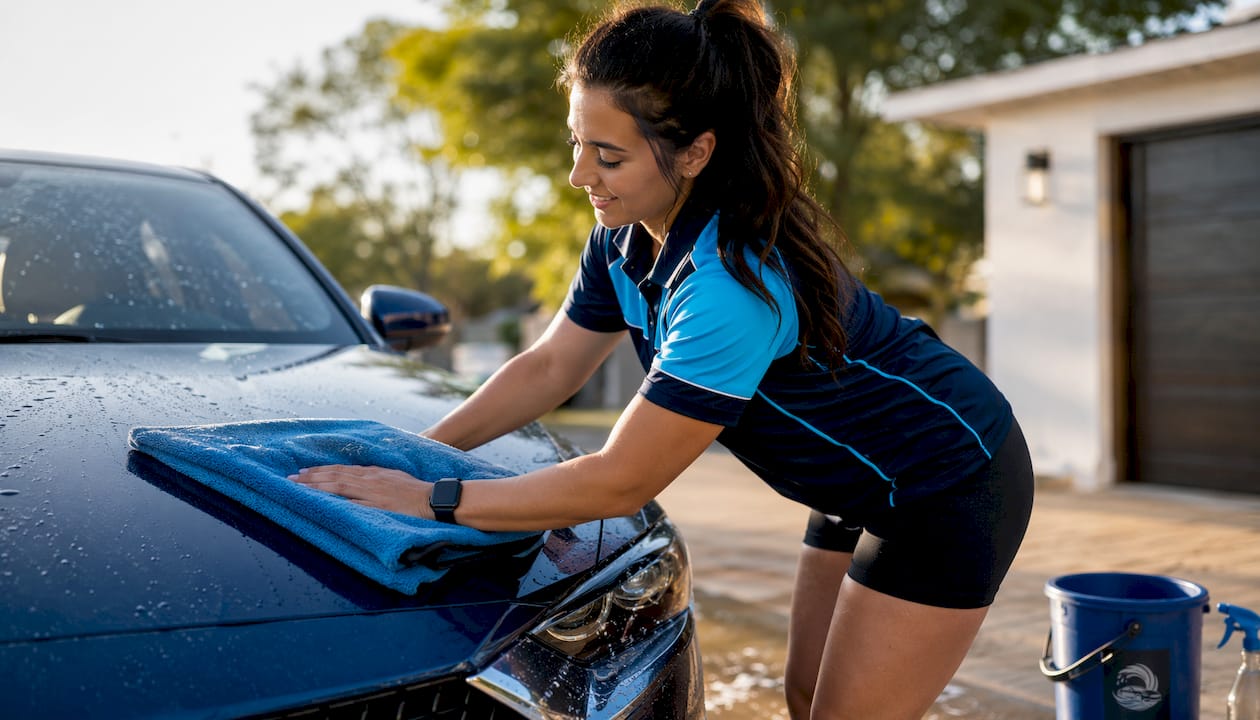
Drying. A capillary microfiber drying towel pulls water up into its fibers rather than pushing it around. Drag a regular bath towel across wet paint and you are essentially sanding it with invisible grit. Work from the roof down, and flip the towel frequently so you are always using a clean face.
Pro Tip: Follow a strict top-down sequence for both washing and drying. Gravity carries dirty water downward, so starting at the roof and working toward the lower panels means you never re-soil a surface you just cleaned.
How do you remove bugs, tar, and bonded contaminants before polishing?
A freshly washed car can still feel rough to the touch, like fine sandpaper under your fingertips. That texture is bonded contamination: iron particles from brake dust, tar spots, bug residue, and industrial fallout that a wash cannot lift. Skipping this step and going straight to polish grinds those particles into the clear coat.
Work chemical decontamination first, then mechanical:
- Bug and tar remover: Spray onto affected areas and let it dwell long enough to soften the residue before wiping. Harsh scrubbing without dwell time scratches the paint. Wipe with a clean microfiber and rinse.
- Iron remover: Spray across all painted panels. The product turns purple or red as it reacts with embedded iron particles. Let it dwell for 2–5 minutes per product instructions, then rinse thoroughly. Do not let it dry on the surface.
- Clay bar treatment: After chemical decontamination, fold a clay bar flat and knead it into a workable pad. Apply clay lubricant generously to one panel, then glide the clay bar back and forth with light pressure. You will feel it grab initially, then smooth out as it lifts the remaining contaminants. Work one section at a time, re-lubricating as needed.
Never clay a dirty or unrinsed panel. The clay bar picks up whatever is on the surface, and dragging it over loose grit turns it into an abrasive. For a deeper look at decontamination methods including tar and iron removal, the process is the same whether you are doing it yourself or prepping for a professional service.
Should you polish your car's paint, and when can you skip it?
Polishing removes a thin layer of clear coat to level out swirl marks, light scratches, and oxidation. It is optional, but on paint that has been neglected or shows visible dullness, it makes a dramatic difference before protection goes on.
- Inspect the paint in direct sunlight or with a detailing inspection light before deciding
- If the paint looks glossy and defect-free, skip polish and go straight to protection
- For light swirls, a one-step polish with a dual-action polisher and a foam pad handles most correction
- Apply a small amount of polish to the pad, spread at low speed, then work at medium speed in overlapping passes
- Keep the polisher moving constantly to avoid burning through the clear coat in one spot
If you have never used a machine polisher before, practice on a hidden panel first, or consider leaving paint correction to a professional. Burning through the clear coat on a door panel is an expensive mistake. For well-maintained paint, a quality sealant applied directly after clay bar treatment gives excellent results without any polishing at all. You can read more about how exterior detailing protects paint long-term to decide whether correction makes sense for your situation.
What is the best way to protect your car's paint after detailing?
Protection is what makes a detail last. Without it, a freshly cleaned car is immediately exposed to UV rays, bird droppings, tree sap, and road film with nothing to slow the damage.
Three main options exist, each with different durability:
- Carnauba wax gives a warm, deep gloss and typically lasts 4–8 weeks. Best for show cars or owners who enjoy the ritual of regular waxing.
- Synthetic sealants bond to the clear coat chemically and can extend protection to 3–6 months. A practical choice for daily drivers.
- Ceramic coatings offer the longest protection, often a year or more, but require careful surface preparation and are harder to apply correctly without experience.
Apply wax or sealant in a cool, shaded area to prevent streaking and uneven curing. Hot paint causes product to flash dry before you can spread it evenly. Work one panel at a time, applying a thin, even layer with a foam applicator pad. Let it haze according to the product's instructions, then buff off with a clean microfiber towel, flipping the towel frequently. Thin coats bond better than thick ones and are far easier to remove cleanly.
Pro Tip: Never apply wax or sealant over contaminated paint. If the surface still feels rough after washing, run a clay bar over it first. Sealing contamination under a protective layer traps the problem and makes it harder to correct later.
How do you detail wheels, tires, and wheel wells properly?
Wheels and wheel wells were cleaned first in the wash step, but tires and dressing come at the end, after the paint is fully protected. This order matters because tire dressing can sling onto freshly waxed paint if applied too early.
- Wheel wells: A stiff brush and an all-purpose cleaner handle packed mud and grime. Rinse thoroughly and let dry.
- Tires: Apply a dedicated tire cleaner with a stiff tire brush to strip old browning dressing and road film. Rinse and let the tire dry before applying fresh dressing.
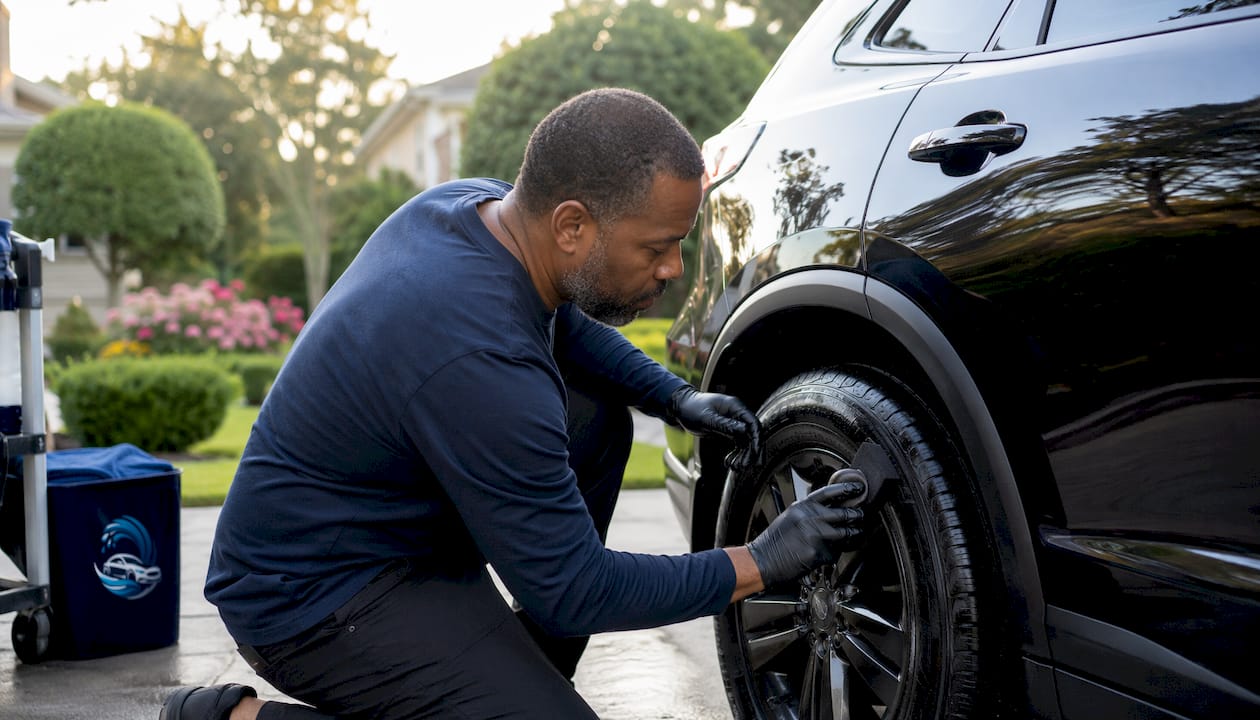
- Tire dressing: Apply a water-based tire dressing with an applicator sponge for a clean, satin finish. Avoid glossy dressings on the tread area, where they reduce grip. Wipe any excess off the wheel face before it can sling onto the paint.
- Waxing painted or clear-coated wheels: Apply a thin coat of wax to protect the wheel finish from brake dust and heat.
Beginning with wheels prevents brake dust and grime from contaminating paint you have already cleaned. Tire dressing at the end keeps the finish looking sharp without the risk of overspray on protected paint panels.
How do you clean windows, trim, and other finishing details?
Glass, trim, door jambs, and the tailpipe are the finishing details that separate a thorough detail from a rushed one. They also require specific products to avoid damage.
Glass and mirrors:
- Use an ammonia-free, tint-safe glass cleaner on all exterior windows and mirrors. Ammonia degrades aftermarket window tint and can haze some factory coatings.
- Spray the cleaner onto a microfiber towel rather than directly onto the glass to avoid overspray on fresh wax or trim.
- Wipe in one direction horizontally, then a second pass vertically. The two-direction method reveals any remaining streaks clearly.
- Wipe windshield wipers with a damp cloth to remove grime and oxidation from the rubber blade.
Trim, moldings, and rubber seals:
- Apply a trim restorer to faded black plastic and rubber moldings. These surfaces oxidize and turn gray without UV protection.
- Dress rubber door seals with a silicone-based protectant to keep them pliable and prevent cracking.
- Polish any chrome trim with a dedicated chrome polish, then protect it with a thin coat of wax.
Door jambs and tailpipe:
- Wipe door jambs with a damp microfiber and an all-purpose cleaner. Open each door fully to reach the hinge area and the lower sill, where grime collects.
- Clean the tailpipe with a metal polish and a small brush to remove carbon buildup and restore the finish.
Apply trim dressing and glass treatments last. Earlier steps, particularly wax application, can leave a film on glass if done in the wrong order. Keeping glass and trim as the final step avoids having to re-clean surfaces you already finished.
Expert tips on sequencing and minimizing paint contact risks
Professional detailers distinguish between washing and detailing because the two are fundamentally different jobs. A wash removes surface dirt. Detailing removes bonded contamination, corrects paint defects, and adds lasting protection. Confusing the two is the most common mistake car owners make, and it leads to paint that looks clean but degrades faster than it should.
Sequence has more impact on results than product cost. The order of cleaning steps determines whether you re-soil surfaces, scratch the paint, or trap contamination under a protective coating. The dirtiest-to-cleanest rule applies at every stage: wheels before paint, lower panels before upper panels, and chemical decontamination before mechanical.
Minimizing physical contact with the paint is the single most effective way to preserve the clear coat. Pre-rinsing and foaming before the contact wash reduces the grit under the mitt. The two-bucket method keeps that grit out of the soap bucket. A capillary drying towel lifts water instead of dragging it. Each of these habits removes one more opportunity for micro-scratches to form.
Work in the shade whenever possible. Direct sunlight heats the paint surface, causing shampoo, iron remover, and wax to dry faster than you can work with them. Dried shampoo leaves water spots. Dried iron remover can etch the surface. Dried wax becomes difficult to buff off evenly. Early morning or overcast days are ideal for a full detail.
Pro Tip: Use the two-bucket method on every wash, not just during a full detail. It takes thirty seconds longer than a single-bucket wash and prevents the swirl marks that make paint look dull over time. Consistent technique between details preserves the work you put in during each full session.
For guidance on keeping your car clean between details, a simple maintenance wash routine extends the life of your wax or sealant and reduces how much correction work the next full detail requires.
Skip the DIY when you need professional results

Some details are worth doing yourself. Others are worth handing off. If your paint has deep swirl marks, heavy oxidation, or clear coat damage, machine polishing by an experienced detailer will get results that a DIY kit cannot match. Living Waters Auto Wash LLC brings professional-grade mobile detailing directly to your driveway in Boca Raton, Pompano Beach, Coral Springs, and Parkland, with no electricity or water hookup required on your end.
For car owners who want a professionally cleaned exterior without the time investment, the $30 mobile exterior wash is a fast, affordable way to maintain your car between full details. Living Waters Auto Wash LLC's five-star reputation is built on the same sequencing and technique described in this guide, applied by a trained team with professional-grade products.
Key Takeaways
Exterior car detailing produces lasting results only when each phase builds on the last, from the dirtiest zones to the cleanest, with minimal paint contact at every step.
| Point | Details |
|---|---|
| Wheels always go first | Cleaning wheels before paint prevents brake dust and grime from re-soiling washed panels. |
| Sequence beats product cost | The order of steps has more impact on detailing quality than the price of the products you use. |
| Minimize paint contact | Pre-rinsing, foaming, and the two-bucket method each reduce grit under the mitt and prevent swirl marks. |
| Apply protection in the shade | Wax and sealant applied on hot or sun-exposed paint dry unevenly and leave streaks. |
| Clay before you protect | Sealing contaminated paint traps the problem; clay bar treatment after washing gives protection a clean surface to bond to. |