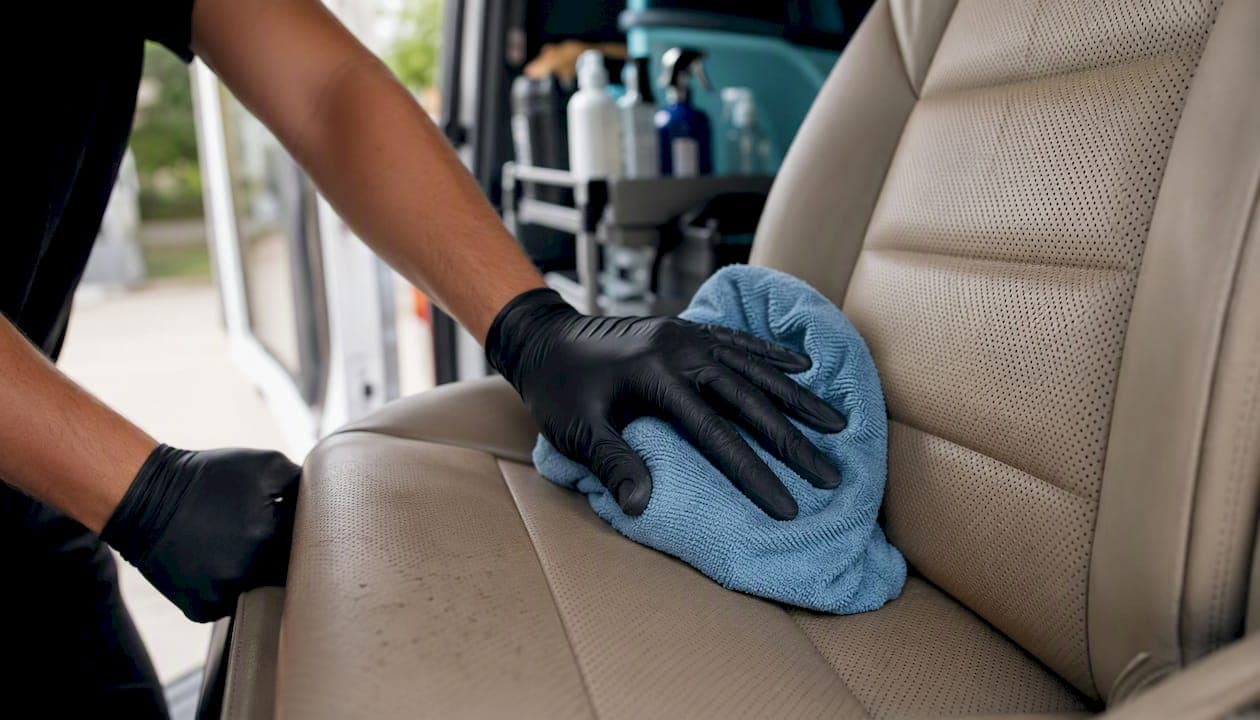
The safest, fastest way to handle leather seat cleaning in your car is to apply a pH-neutral automotive leather cleaner to a microfiber cloth, wipe the surface in small sections, blot dry, and follow with a water-based protectant. That's the whole routine. Everything below is the detail that makes it work.
Three things you need before you start:
- A pH-neutral automotive leather cleaner (spray or wipe format)
- Two or three clean microfiber towels
- A soft-bristle brush for seams and textured areas
Three products worth knowing:
- Weiman Leather 3-in-1 — cleans, conditions, and protects in one step
- Leather CPR Cleaner and Conditioner — deeper clean with built-in conditioning
- Armor All Interior Leather Care Wipes — grab-and-go format for quick maintenance
Pro Tip: Never spray product directly into perforations on ventilated seats. Apply to the cloth first, then wipe. And skip the household cleaners entirely — Windex, bleach, and ammonia-based products strip the factory topcoat and cause peeling that no conditioner can fix.
Key Takeaways
A consistent routine with the right pH-neutral products prevents most leather damage; the spot-test rule and a water-based protectant are the two steps most car owners skip.
| Point | Details |
|---|---|
| Use pH-neutral cleaners only | Household products like Windex, bleach, and dish soap strip the factory topcoat and cause permanent damage. |
| Spot-test every product first | Apply to a hidden area and wait two minutes before cleaning the full seat surface. |
| Protectant beats conditioner | Modern coated leather needs a water-based UV protectant, not a heavy oil-based conditioner. |
| Clean on a schedule | Weekly wipe, monthly light clean, and a full deep clean every 3–6 months prevents costly repairs. |
| Living Waters Auto Wash LLC | Mobile leather detailing in Boca Raton, Pompano Beach, Coral Springs, Parkland, and Palm Beach County — no hookups needed. |
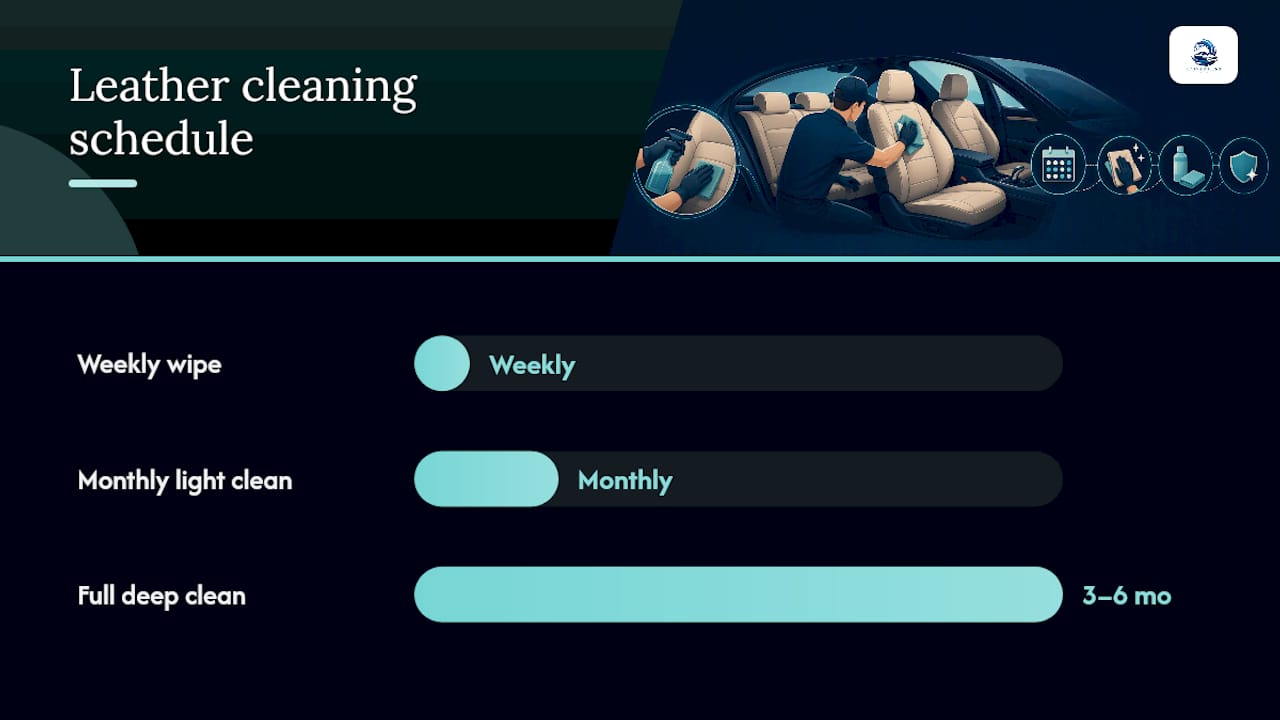
Table of Contents
- How to clean leather car seats in under 10 minutes
- The full deep-clean process for stained or neglected leather
- How to remove stains from leather car seats
- Which leather cleaning products are actually worth buying?
- Household products that damage leather seats
- How often should you clean and condition leather seats?
- What professional detailers do that DIY can't replicate
- The mistake most car owners make with leather
- Skip the hard jobs — Living Waters Auto Wash LLC comes to you
- Sources
How to clean leather car seats in under 10 minutes
This is your weekly or between-clean routine. It takes a short amount of time and keeps seats from building up the grime that turns into a deep-clean job.
- Vacuum first. Run a soft brush attachment along the seat surface, seams, and the gap between the cushion and backrest. Skipping this step grinds loose grit into the leather grain during wiping, which causes visible wear patches over time.
- Wipe with a lightly damp microfiber cloth. Plain water handles light dust and surface oils. Wring the cloth nearly dry before contact.
- Spot-treat with a leather cleaner. Apply the product to the cloth, not the seat. Work the cloth over the spot in small circles, then blot the residue with a dry towel.
- Air dry the seats. Leave doors open or windows cracked. Never use a heat gun or park in direct sun to speed drying.
For this routine, wipes like Armor All Interior Leather Care Wipes are the right call. They're pre-moistened at the correct saturation, which removes the guesswork. A spray-and-cloth setup is better when you're covering the whole seat or dealing with a visible spot that needs a little more agitation.
When to escalate: If you see dye transfer from dark clothing, a greasy smear that won't lift, or a stain that's been sitting for more than a day or two, move to the full deep-clean process below.
The full deep-clean process for stained or neglected leather
Use this when the quick routine isn't enough — heavily soiled seats, old stains, or leather that hasn't been touched in months. Budget 45–60 minutes for a full interior.
- Park in the shade. Direct sunlight dries product before you can work it, leaving streaks and residue.
- Remove loose debris. Clear out floor mats, trash, and anything sitting on the seats.
- Vacuum thoroughly. Use a soft brush attachment. Pay attention to seams and the fold between the seat bottom and backrest. This step matters more than most people think — grit left on the surface acts like sandpaper the moment a cloth touches it.
- Spot-test your cleaner. Apply a small amount to a hidden area (under the seat edge or the back of the headrest) and wait two minutes. Check for color change or surface dulling before proceeding.
- Apply cleaner to your cloth or brush, not the seat. Work in roughly 2-square-foot sections. Agitate gently with the cloth or a soft brush, using light circular pressure. Toyota's detailing guidance reinforces this applicator-to-cloth method to prevent streaking and residue buildup.
- Wipe residue immediately. Don't let foam or cleaner sit. Blot with a second dry microfiber right after agitating each section.
- Repeat on stubborn areas. A second pass is fine. A third pass with heavier pressure is where damage starts.
- Blot fully and inspect. Press a white cloth firmly onto each section. Color pickup means dye transfer is present — stop and assess whether this needs a pro.
- Condition or protect. See the decision below.
Conditioner vs. protectant: which one does your leather actually need?
Most modern automotive leather is coated from the factory. Detailers have largely moved away from heavy oil-based conditioners on these surfaces because the oil can't penetrate the topcoat — it just sits on top, attracts dust, and accelerates wear. A water-based protectant with UV blockers is the better choice for most cars built in the last decade. Check your owner's manual; if it says "coated leather," skip the heavy conditioner and go straight to a UV protectant. For UV protection timing and seasonal application, a dedicated guide covers the specifics.
Perforated and ventilated leather
Apply product to the cloth only, never directly to the seat. Use a wrapped finger or the edge of a plastic card to work cleaner into seams without pushing liquid into the holes. Family Handyman's leather cleaning guidance is specific on this: saturation beneath perforated leather can pool under the surface and cause mold or adhesive failure. Less is more.
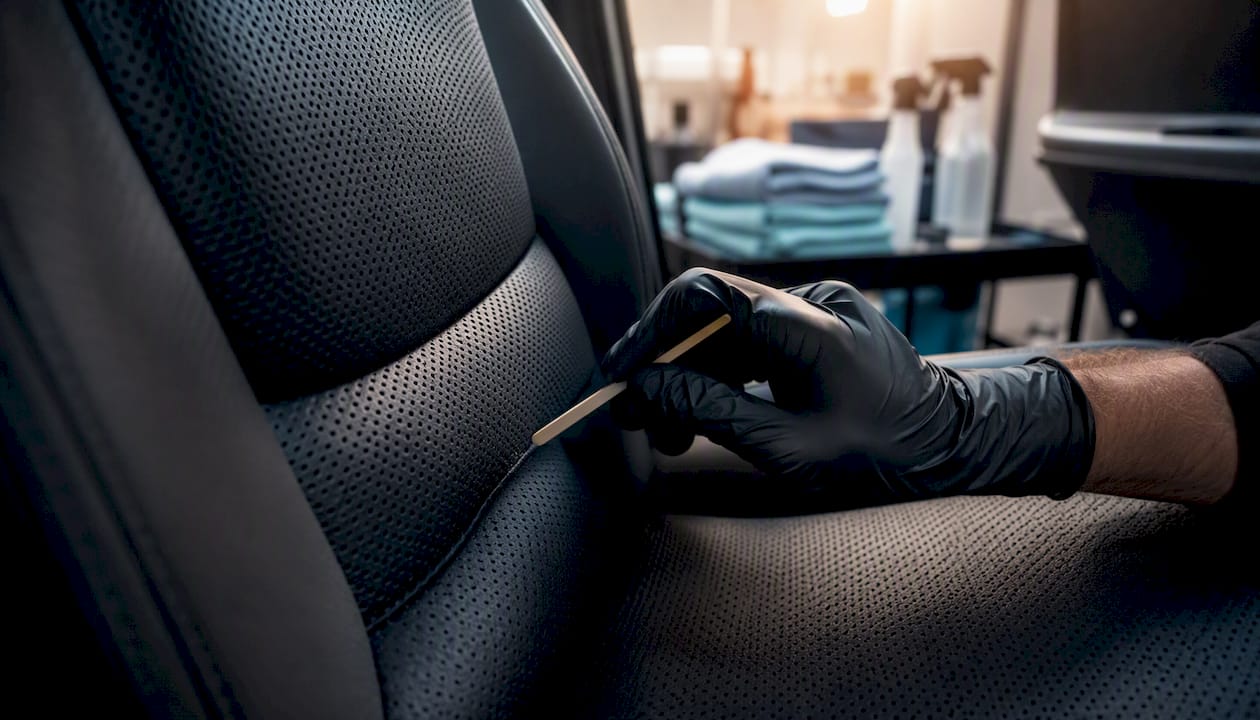
Pro Tip: After cleaning perforated seats, press a dry microfiber gently over the surface and hold for 10 seconds. It wicks moisture out of the perforations before it can migrate inward.
How to remove stains from leather car seats
Different stains need different first responses. Acting fast matters more than the product you use.
| Stain type | First response | DIY treatment | Call a pro when |
|---|---|---|---|
| Water spots | Blot immediately, don't rub | Wipe with damp microfiber, dry fully | Mineral deposits have etched the surface |
| Oil or grease | Blot excess, don't spread | Cornstarch or baking soda left overnight, then pH-neutral cleaner | Stain is old or deeply set |
| Dye transfer (jeans) | Blot, do not scrub | Repeated light passes with leather cleaner | Topcoat is visibly thinning |
| Ink | Blot only | Leather-safe ink remover, spot-test first | Ink has spread or dried deep |
| Protein (vomit, urine, blood) | Blot with cold water immediately | Enzymatic cleaner labeled safe for leather | Odor persists after cleaning |
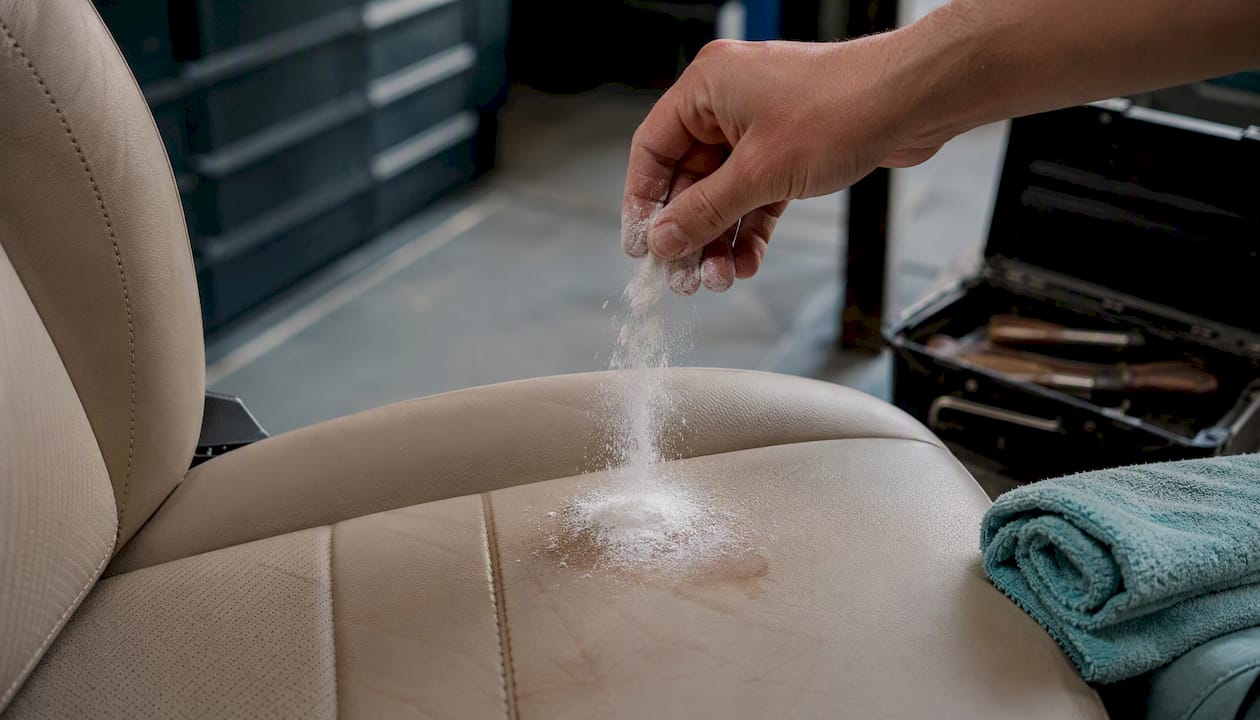
For grease and oil: Sprinkle cornstarch or baking soda directly on the stain, press gently, and leave it for several hours or overnight. The powder draws oil out of the leather grain. Brush or vacuum it off, then follow with a pH-neutral cleaner. Spot-test the powder in a hidden area first — some light-colored leathers can show a faint residue if the powder isn't fully removed.
For dye transfer from dark denim: This is one of the most common complaints on light-colored leather. Repeated light passes with a leather cleaner work better than one aggressive scrub. Scrubbing hard removes the topcoat along with the dye, which creates a dull patch that's harder to fix than the original stain. For professional restoration of upholstery damage, a detailer can apply a safe dye repair that matches the original color.
For protein stains: Cold water first, always. Heat sets protein into the leather. An enzymatic cleaner breaks down the organic matter, but check the label — not all enzymatic products are safe for coated leather. If the odor doesn't clear after two treatments, this is a pro job.
What not to do:
- No Windex, glass cleaner, or multi-surface sprays
- No bleach or ammonia-based products
- No dish soap (it strips the topcoat and leaves residue)
- No Magic Eraser (it's a micro-abrasive that removes the surface coating)
- No heavy scrubbing on any stain type
Which leather cleaning products are actually worth buying?
Car and Driver's tested roundup of automotive leather cleaners confirms what detailers have said for years: format matters as much as formula. Here's how the three must-know products stack up.
Buying guidance:
- Prefer pH-neutral, water-based formulas. Solvent-based products clean aggressively but strip the topcoat over time.
- Always spot-test on a hidden area, even with products labeled "safe for all leather."
- Wipes are ideal for weekly maintenance and road trips. Sprays give you more control for full-seat cleaning. Creams and lotions work best for restoration passes on older or drier leather.
- Avoid silicone-based dressings. They create a greasy film that attracts dust and can accelerate topcoat wear with repeated use.
Use-case map:
- Weekly upkeep: Armor All Interior Leather Care Wipes
- Monthly light clean: Weiman Leather 3-in-1 spray
- Deep clean or restoration: Leather CPR Cleaner and Conditioner
- Travel or emergency spot: Armor All wipes in the glovebox
Household products that damage leather seats
Lincoln's owner guidance is direct: household cleaners are not formulated for automotive leather and will damage the factory finish. Here's what to keep away from your seats and why each one causes harm.
- Windex and glass cleaners: Contain ammonia, which dries out leather and breaks down the topcoat.
- Bleach: Discolors leather immediately and causes irreversible surface damage.
- Dish soap: Strips natural oils and leaves a residue that attracts more dirt.
- Magic Eraser: Works by micro-abrasion — it removes stains by removing the surface itself.
- High-alcohol wipes (hand sanitizer, rubbing alcohol): Dry the leather out and cause cracking over time.
- Silicone-based dressings: Leave a greasy film, attract dust, and interfere with any protectant applied afterward.
- Solvent-based cleaners: Dissolve the topcoat along with the stain.
If you've already used one of these products: Stop immediately. Blot any remaining product with a dry cloth. Don't add water to dilute it — that can spread the damage. Let the area dry fully, then assess. If the surface looks dull, discolored, or tacky, consult a professional detailer before applying anything else. Attempting to "fix" a stripped topcoat with more product often makes it worse.
How often should you clean and condition leather seats?
A consistent schedule prevents the kind of damage that turns a $20 cleaning job into a $200 repair. Titan Coatings' leather care guide and most manufacturer recommendations align on a tiered cadence:
- Weekly: Quick wipe with a damp microfiber or leather care wipe. Takes 5 minutes.
- Monthly: Light clean with a spray cleaner across all seating surfaces. 15–20 minutes.
- Every 3–6 months: Full deep clean plus protectant application. 45–60 minutes DIY, or book a pro.
- Annually (or before summer): UV protectant treatment, especially in high-sun climates like Florida, Arizona, or Southern California.
Adjust the schedule for your situation:
- Light-colored leather shows dye transfer faster — clean monthly at minimum.
- Pets and children mean protein stains and debris accumulate quickly; weekly wipes are non-negotiable.
- Winter brings tracked-in salt and moisture; wipe seats after wet-weather use.
- Summer UV in hot climates degrades unprotected leather within a season. A sunshade and a UV protectant together are the most cost-effective prevention.
DIY time and cost estimate: A full deep clean with quality products usually involves some supply cost and time commitment. A professional interior detail typically costs more, but covers the whole cabin and uses pro-grade materials. For most car owners, DIY monthly maintenance plus a professional deep clean once or twice a year is the most practical balance.
What professional detailers do that DIY can't replicate
There's a real gap between a thorough home clean and what a trained detailer does. It's not about effort — it's about tools, materials, and knowing when to stop.
- Controlled extraction: Pros use low-moisture extraction tools that lift embedded dirt without saturating the leather or the foam beneath.
- Safe dye and repair work: Surface cracks, color fading, and dye transfer that's been ground in require leather-safe colorants and repair compounds. These aren't consumer products.
- Ceramic leather coatings: A professional-grade ceramic coating bonds to the topcoat and provides long-term UV and spill resistance that no spray protectant can match.
- Calibrated conditioners: Detailers select conditioners based on the specific leather type — coated, semi-aniline, or full-grain — rather than applying a one-size product.
- Seam and perforation care: Pros use fine brushes and plastic tools to clean seams without over-wetting, consistent with Family Handyman's guidance on perforated leather.
When DIY should stop and a pro should start:
- Heavy dye transfer that doesn't lift after two cleaning passes
- Cracked leather with visible foam beneath the surface
- Persistent odor after treating a protein stain
- You've used a damaging household product and the surface looks altered
- You simply don't have the time — a mobile interior detail comes to you
Pro Tip: Ask any detailer you hire whether they use water-based or oil-based conditioners on modern coated leather. A pro who still reaches for a heavy oil conditioner on a 2020+ vehicle isn't keeping up with how factory leather has changed.
The mistake most car owners make with leather
The most common thing seen on service calls is leather that's been ignored for too long, then aggressively cleaned with the wrong product once the owner notices the damage. A seat that gets a 5-minute wipe every week almost never needs a restoration. A seat that gets scrubbed with dish soap once a year usually does.
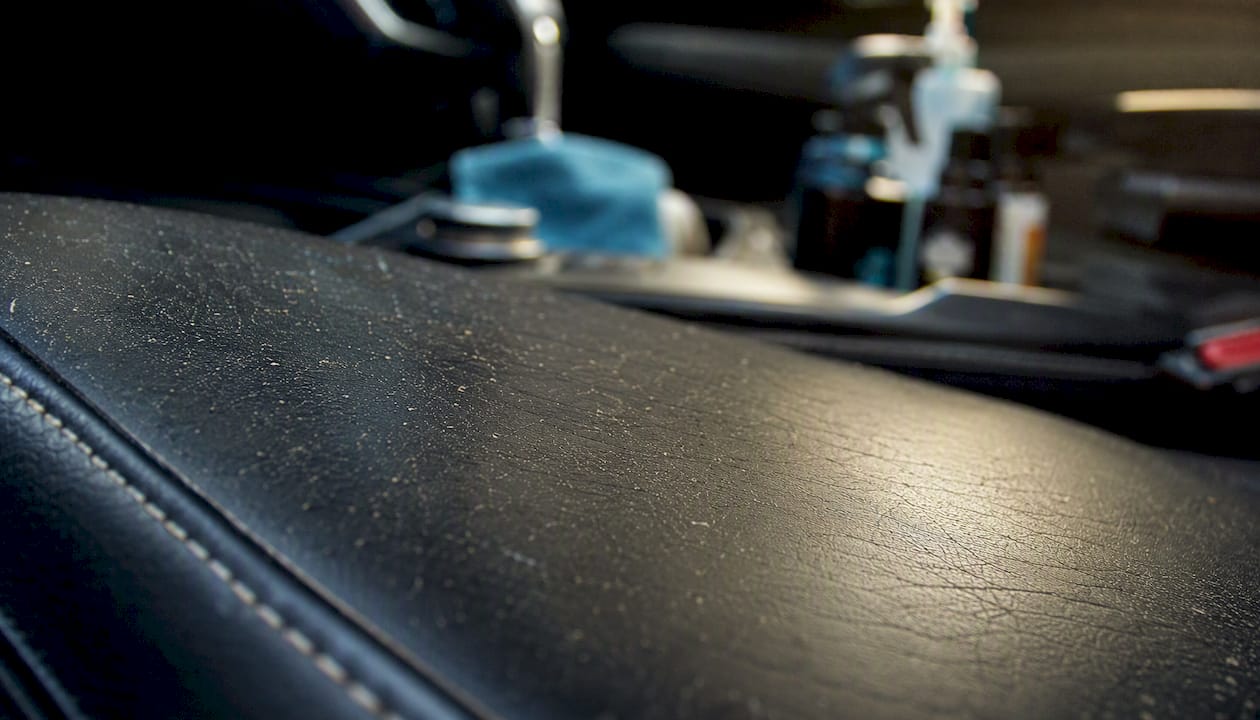
The second most common mistake is over-conditioning. Owners read that leather needs to be "fed" and apply a heavy conditioner every month. On modern coated leather, that product has nowhere to go — it sits on the surface, turns tacky, and collects every particle of dust and debris that touches the seat. The shift toward water-based protectants isn't a trend. It's a response to how factory leather actually works now.
The fix is almost always the same: less product, more often, with the right formula. A weekly wipe and a quarterly protectant will outlast any aggressive deep-clean cycle.
Skip the hard jobs — Living Waters Auto Wash LLC comes to you
When the stain won't lift, the leather is cracking, or you'd rather spend your Saturday doing something else, Living Waters Auto Wash LLC handles it at your location in Boca Raton, Pompano Beach, Coral Springs, Parkland, and Palm Beach County.

No water hookup needed. No electricity required. The team arrives with pro-grade leather cleaners, low-moisture extraction tools, and UV-safe protectants — the same materials and methods described in this guide, applied by trained hands. Interior leather services include stain removal, odor treatment, conditioning, and protectant application. For seats with dye transfer, embedded grime, or surface damage that's past the DIY stage, this is the practical next step.
Book a mobile detail directly on the website and get your leather looking right without leaving home.
Sources
These are the primary references used in this guide, listed in the order most useful for deeper reading:
- Best Car Leather Cleaners of 2026, Tested
- Stop Using Conditioner On Your Leather Car Seats. Use This Instead
- How to clean leather car seats
- How do you remove stubborn stains like ink, coffee or grease from car leather seats without damaging the material?