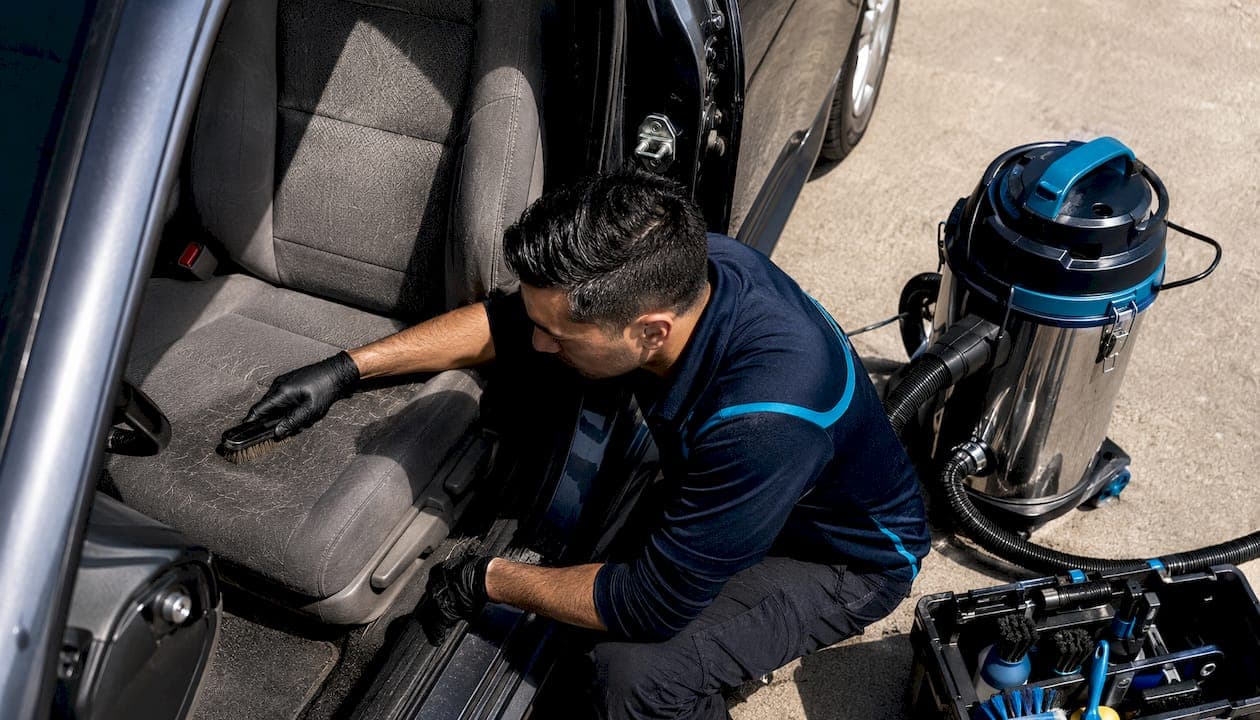
Professional detailers remove embedded pet hair by breaking the static and fiber bond first through mechanical agitation, then extracting the loosened hair with high-suction equipment, and finishing with enzyme-based odor and allergen treatment. Vacuuming alone won't cut it. Suction only skims the surface; the hair has to be physically dislodged before a vacuum can pull it free.
Here's the short version of how it works:
- Agitate dry first. Use rubber brushes, rubber gloves, a pumice stone, or a Lilly Brush-style tool to break hair loose from carpet pile and upholstery fibers. Never wet the surface first.
- Extract with power. Run a commercial wet-dry or HEPA-rated vacuum with targeted wand attachments over every agitated area.
- Hit the crevices. Use compressed air, narrow brush attachments, and a Fur-Eel or crevice wand for seat tracks, seams, belt slots, and vents.
- Treat odor and allergens. Apply enzyme cleaners, follow with hot-water extraction where appropriate, and finish with HEPA vacuuming.
TL;DR: Light pet hair on flat surfaces is a solid DIY project with the right tools. Heavy embedment, hair matted into carpet backing, persistent odors, or hair packed into seat tracks and seams? That's a pro job.
Table of Contents
- How detailers work through embedded pet hair, step by step
- The tools pros use and exactly how each one works
- How to match tools to upholstery and avoid damage
- How pros get hair out of seat tracks, seams, vents, and tight spaces
- Removing trapped dander and pet odors after the hair is gone
- What a professional pet hair removal job costs and how long it takes
- When DIY is enough and when you need a professional
- Key Takeaways
- The mistake most people make with pet hair removal
- Living Waters Auto Wash LLC brings the detail to your door
- Useful sources
How detailers work through embedded pet hair, step by step
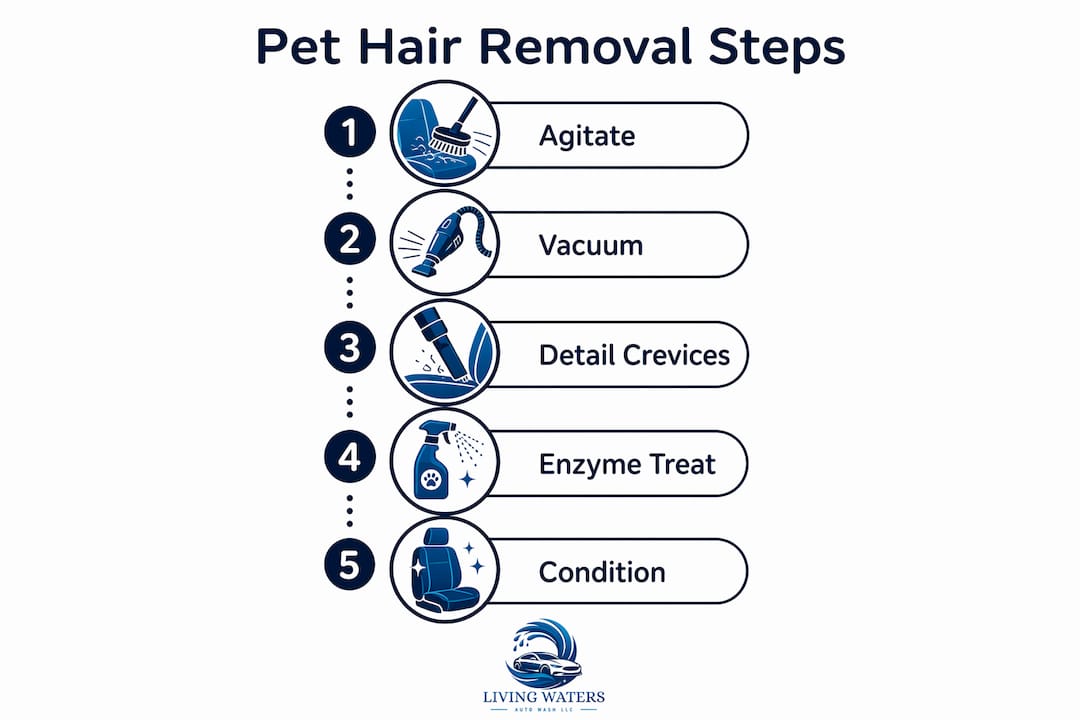
The professional sequence runs pre-clean → dry agitation → focused extraction → crevice work → wet treatment → odor/allergen finish. Order matters more than most people realize. Wetting hair before dry removal increases fiber adhesion and makes the whole job harder, so pros always work dry first.
-
Pre-clean and prep (5–10 minutes). Clear the interior of loose items, floor mats, and seat covers. Shake out mats outside the vehicle. Empty and inspect the vacuum filter before starting — a clogged filter kills suction early and leaves hair behind.
-
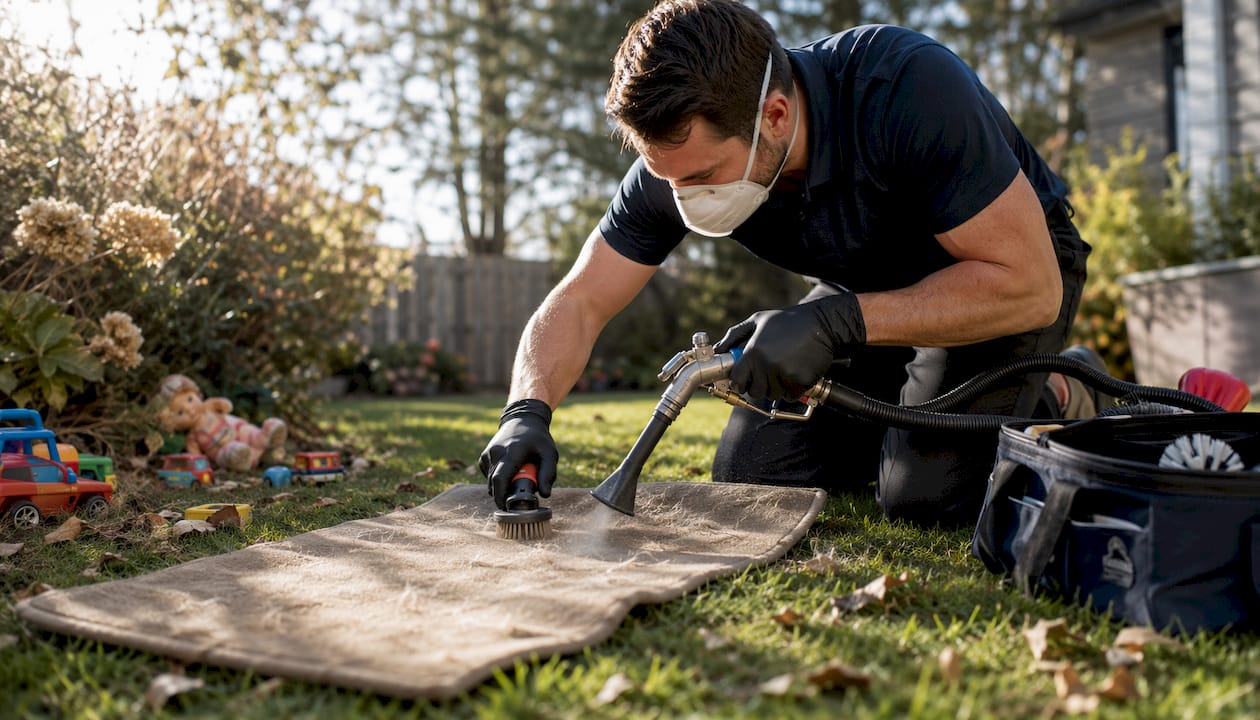
Dry agitation, section by section (20–40 minutes). Work one zone at a time: driver seat, passenger seat, rear bench, cargo area, floor mats. Use short, single-direction strokes with a rubber brush or rubber glove to roll hair into clumps. Then switch directions 90 degrees and repeat. This crosshatch pattern catches hair that lies along the fabric grain and hair that runs across it.
-
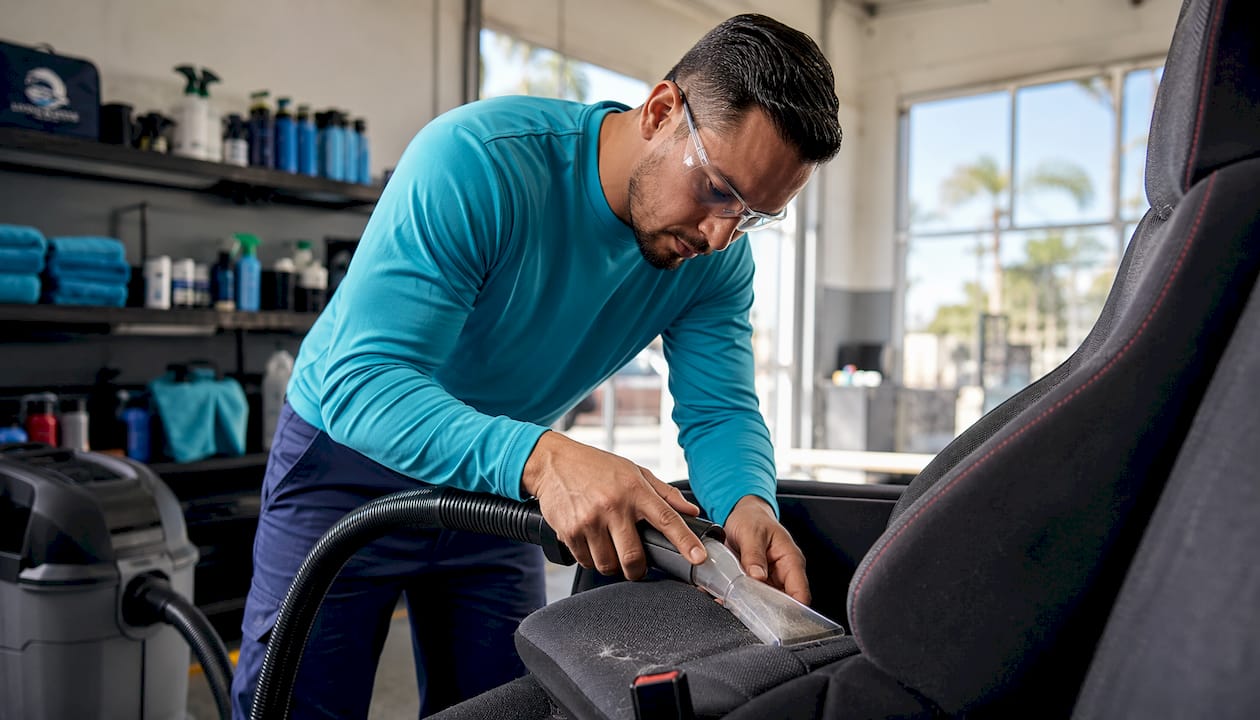
Primary extraction (15–20 minutes). Run a commercial wet-dry or HEPA-rated vacuum with a powered upholstery attachment over every agitated zone. Move slowly — roughly half normal speed — so the brush roll has time to agitate and suction has time to carry hair into the bin. Fast passes leave embedded hair behind.
-
Crevice and seam work (10–20 minutes). Switch to a narrow crevice wand or Fur-Eel attachment for seat tracks, seams, belt slots, and the gap between the seat base and seatback. Use short bursts of compressed air to push hair toward the surface, then vacuum immediately.
-
Wet treatment for severe cases (15–30 minutes). For heavily matted carpets or seat fabric, pros apply a light mist of water or a diluted fabric-safe solution to swell fibers, then agitate again and extract with a hot-water extractor. Steam can also help loosen deeply bonded hair in carpet backing.
-
Enzyme odor and allergen treatment (10–15 minutes). Apply an enzyme-based cleaner to upholstery and carpet, allow dwell time per the product instructions, then extract. Finish with a final HEPA vacuum pass to capture residual dander.
-
Inspection pass. Check seams, headliner edges, and cargo area corners in good light. Repeat any zone where hair remains.
Pro Tip: Work the crosshatch agitation pattern before you ever turn on the vacuum. Hair that resists one pile direction almost always releases from the perpendicular pass. Skipping this step is the single most common reason a first vacuum pass looks clean but leaves hair behind in the pile.
Wear an N95 mask and nitrile gloves throughout. Pet dander is a known respiratory allergen, and agitation kicks it airborne. Anyone with pet allergies or asthma should take this seriously, not treat it as optional.
The tools pros use and exactly how each one works
Pros pair agitation tools with high-suction extraction. Both are required for deeply embedded hair. Neither works well without the other.
Rubber brushes and the Chemical Guys Pet Hair Rubber Brush
Rubber bristles generate static friction that grabs hair and rolls it into clumps without abrading fabric. The Chemical Guys Pet Hair Rubber Brush is a widely used example: short, dense rubber tines work well on cloth seats and low-pile carpet. Use short strokes in one direction, collect the clump, then repeat.
- Best on: cloth seats, low-pile carpet, floor mats
- Avoid on: perforated leather, loose-weave velour, delicate headliner fabric
- DIY alternative: a clean rubber squeegee
Rubber gloves (nitrile or latex-free)
One of the most underrated tools in a detailer's kit. Nitrile or latex-free gloves generate static friction with short, single-direction strokes that roll embedded hair into visible rows. Pros sometimes mist the glove lightly with a static-neutralizing solution to improve pickup on delicate fabrics. Cheap, reusable, and surprisingly effective on seat fabric where a stiffer brush would risk pilling.
- Best on: cloth seats, microfiber, velour, seat seams
- Avoid on: leather (use a soft microfiber instead)
Lilly Brush
The Lilly Brush is a purpose-built pet hair tool with a stiff, curved rubber edge designed to scrape hair from upholstery without the abrasion risk of a metal rake. Consumer Reports tested it alongside several other pet hair tools and found it effective on embedded hair. Pros use it on seat fabric and floor mats where a pumice stone would be too aggressive.
- Best on: fabric seats, floor mats, cargo liners
- Avoid on: perforated leather, loose knit fabric
Fur-Eel attachment
The Fur-Eel is a vacuum attachment with a flexible, narrow profile designed to reach into seat tracks, seams, and belt slots. It combines a rubber agitation edge with direct suction, so it loosens and extracts in one pass. Pros reach for it specifically for the areas a standard crevice tool can't seal against.
- Best on: seat tracks, seams, belt slots, under-seat gaps
- Avoid on: wide flat surfaces where a powered upholstery tool is faster
Pumice stone / pet hair brick
Detailing stones grab matted fur from carpet pile and allow the vacuum to pull it free. They work best on durable, tightly woven floor carpet where hair has been ground in over months. The risk is real: excessive pressure on thin or worn carpet backing can cause damage. Use light strokes and stop immediately if you see fuzzing.
- Best on: durable floor carpet, cargo area carpet
- Avoid on: delicate upholstery, velour, headliner, any worn or thin fabric
Lint roller
A lint roller is a finishing tool, not a primary removal tool. After agitation and extraction, a lint roller picks up the fine, short hairs that remain on seat surfaces and door panels. Reusable lint rollers (like the ChomChom) work well for ongoing maintenance between details.
- Best on: seat surfaces, door panels, post-extraction cleanup
- Avoid on: deeply embedded hair (it won't reach it)
High-powered shop vacuum and HEPA extractor
Commercial wet-dry vacs and HEPA-rated extraction systems provide far stronger and more consistent suction than consumer vacuums. The difference shows up in deep pile and foam backing, where a household vacuum simply can't generate enough airflow to pull hair free after agitation. Pros use targeted wand attachments and powered upholstery heads to maximize contact and suction in each zone.
- Best on: all surfaces post-agitation
- DIY note: a consumer shop vac is a reasonable substitute; a standard household vacuum usually isn't powerful enough for heavy embedment
Tornador-style air tool and drill brush
A Tornador uses compressed air in a cyclonic pattern to blast hair and debris out of fabric and crevices simultaneously. Drill brushes (soft nylon bristles on a drill attachment) agitate large areas quickly. Both are professional-grade tools that speed up the agitation phase on heavily soiled interiors.
- Best on: heavily soiled carpet, floor mats, large surface agitation
- Avoid on: leather, vinyl, headliner
Pro Tip: For carpeted floor mats, pull them out of the vehicle before you start. Agitate them outside, shake them out, then vacuum. Doing this inside the car just redistributes hair onto the seats you already cleaned.
How to match tools to upholstery and avoid damage
Tool choice should be driven by fabric construction. Aggressive tools belong on low-pile carpet; rubber tools on delicate synthetic weaves; soft brushes and microfiber on leather and vinyl. Using the wrong tool on the wrong surface is how a cleaning job turns into an upholstery repair job.
Quick fabric-test procedure before you start:
- Find a hidden spot (under the seat, back panel, or seat base edge).
- Do 10 short, gentle strokes with the tool you plan to use.
- Check for pilling, fuzzing, or snagging.
- If you see any of those, switch to a softer tool.
Using metal-tined tools on delicate upholstery can cause pilling or tearing that no amount of cleaning will fix. Rubber brushes provide friction without abrasion, which is why pros default to them on anything other than durable carpet.
Do/don't by surface:
| Surface | Safe tools | Never use |
|---|---|---|
| Low-pile floor carpet | Pumice stone, rubber brush, drill brush | Nothing too aggressive on worn backing |
| Cloth/fabric seats | Rubber gloves, Lilly Brush, rubber brush | Metal rakes, pumice stone |
| Velour / loose weave | Rubber gloves, soft lint roller | Any scraper, pumice, metal tines |
| Leather / vinyl | Soft microfiber, gentle vacuum | Rubber brushes, pumice, any abrasive tool |
| Headliner | Soft brush, gentle vacuum only | Rubber brushes, scrapers, compressed air directly on fabric |
| Cargo carpet | Pumice stone, rubber brush, drill brush | Excessive pressure on thin backing |
When a fabric is visibly worn, fraying at seams, or already showing pilling, stop and hire a pro. Aggressive removal on compromised fabric causes damage that costs far more to fix than the detail itself. For high-end materials, the guidance on protecting luxury vehicle upholstery is worth reading before you start.
How pros get hair out of seat tracks, seams, vents, and tight spaces
Pros combine agitation, directional air, and narrow extraction tools to mobilize and remove hair from crevices. These are the areas DIY methods most often miss, and they're also where the heaviest allergen concentrations tend to build up.
The standard approach for tight spaces:
- Seat tracks: Use a Fur-Eel or narrow crevice wand with the vacuum running. Short back-and-forth strokes along the track channel pull hair out without pushing it deeper.
- Seat seams and stitching: A rubber glove or soft brush along the seam line loosens hair caught in the thread. Follow immediately with a crevice tool.
- Belt slots: Compressed air directed into the slot pushes hair toward the opening; vacuum the exit point as you blow. Never blow without a vacuum ready to catch what comes out.
- Vents: Use a soft detailing brush to sweep hair toward the vent opening, then vacuum. Avoid compressed air directly into HVAC vents — it pushes hair and dander into the duct system.
- Under-seat gaps: A Tornador or narrow brush attachment reaches the gap between the seat base and floor carpet where hair compresses over time.
Compressed air at roughly 90–120 PSI with proper nozzles is the professional standard for forcing hair out of fabric backing and crevices. Consumer compressors often can't sustain that flow or control the pressure precisely enough, which is one reason DIY compressed-air attempts sometimes push hair deeper rather than out.
Pro Tip: Always vacuum before you use compressed air in a crevice, and vacuum again immediately after. Blowing air without suction ready just redistributes hair to surfaces you already cleaned. The sequence is: vacuum the area, blow air into the crevice, vacuum again.
A quick note on electronics: seat tracks contain wiring for power seats and, in many vehicles, side-curtain airbag sensors. Keep compressed air pressure controlled and directed away from electrical connectors. Never pry trim panels to reach hair — if hair is packed behind trim, that's a pro job.
Removing trapped dander and pet odors after the hair is gone
Visible hair removal must be followed by targeted odor and allergen extraction. Hair carries dander into carpet backing and seat foam, and that dander keeps releasing allergens long after the visible hair is gone. Professional services combine mechanical extraction with enzyme treatments to neutralize pet-related odors rather than masking them.
The professional sequence after hair removal:
- Surface hair removal complete. Confirm all visible hair is extracted before introducing any moisture.
- Hot-water extraction or steam. For carpet and fabric seats with deep embedment, hot-water extraction swells fibers and flushes dander and hair fragments from the backing. Steam works similarly on seat fabric.
- Enzyme-based treatment. Apply an enzyme cleaner to upholstery and carpet. Enzymes break down the organic compounds in dander and urine proteins that cause persistent odor. Allow full dwell time. A pet-friendly enzyme cleaning workflow uses similar chemistry for home surfaces and the same principles apply in a vehicle.
- Extract and rinse. Pull the enzyme solution and loosened dander out with a wet-dry extractor or HEPA vacuum.
- Final HEPA vacuum pass. A HEPA-rated system captures fine dander particles that a standard vacuum exhausts back into the cabin air. This step matters most for allergy sufferers.
- Ventilate. Leave doors open and allow the interior to dry fully before closing the vehicle. Trapped moisture in carpet backing causes mold and compounds odor problems.
Avoid masking fragrances as a substitute for enzyme treatment. They cover the smell temporarily but leave the dander source intact. For anyone with pet allergies, the difference between a masked odor and a neutralized one is the difference between feeling fine in the car and not. Professional detailing that includes allergen reduction and HEPA filtration genuinely improves cabin air quality, not just the smell.
Skip enzyme treatment on leather surfaces. Use a leather-safe cleaner and conditioner instead.
What a professional pet hair removal job costs and how long it takes
A professional embedded pet hair extraction typically takes about ninety minutes as a baseline for most vehicles, with double-coated breeds and heavily matted carpets requiring more time. Pricing varies by region, vehicle size, and severity, but most U.S. detailers charge $100–$175 for moderate cases and $175–$250 or more for heavy embedment.
What pushes the price up:
- Double-coated breeds (Huskies, German Shepherds, Golden Retrievers) shed undercoat that embeds differently and more deeply than single-coat hair.
- Months or years of buildup that has worked into carpet backing and seat foam.
- Required hot-water extraction for odor treatment.
- Large vehicles: full-size SUVs, minivans, and cargo vans take significantly longer than sedans.
- Headliner involvement, which requires careful, slow work to avoid damage.
Mobile detailing services typically price similarly to shop-based services for pet hair work, and the convenience factor is real. The detailer comes to your driveway, which means no drop-off, no waiting room, and no driving a hair-covered car across town. For a job that takes 90 minutes to three hours, that's a meaningful difference.
When DIY is enough and when you need a professional
Short answer: if you can see the hair sitting on the surface and it responds to a rubber brush, you can handle it yourself. If the hair is matted into the pile, packed into seat tracks, or the car smells like a dog even after you've cleaned it, call a pro.
Signs you need a professional:
- Hair is matted flat into carpet pile and doesn't lift with a rubber brush or glove.
- Hair is visible in seat seams, belt slots, or seat tracks and won't vacuum out.
- The odor persists after cleaning, which means dander is in the foam or carpet backing.
- The vehicle has been carrying pets for months or years without a deep clean.
- Anyone in the vehicle has pet allergies or asthma and symptoms are triggered in the car.
- The upholstery is worn, fragile, or high-end material where the wrong tool causes damage.
DIY vs. pro at a glance:
| Situation | Best route | Expected outcome |
|---|---|---|
| Light hair on flat seat surfaces | DIY with rubber gloves or Lilly Brush + shop vac | Clean in 20–30 minutes |
| Moderate buildup on cloth seats and mats | DIY with rubber brush, pumice on carpet, HEPA vac | Mostly clean; some seam hair may remain |
| Hair matted into carpet pile | Professional | Full extraction in about ninety minutes for most vehicles |
| Hair in seat tracks, seams, belt slots | Professional | Fur-Eel, compressed air, crevice extraction |
| Persistent pet odor | Professional | Enzyme treatment + hot-water extraction |
| Allergy symptoms in vehicle | Professional with HEPA and enzyme treatment | Allergen reduction in cabin air |
Living Waters Auto Wash LLC offers mobile embedded pet hair extraction throughout Boca Raton, Pompano Beach, Coral Springs, and Parkland. Their service includes agitation, professional extraction, enzyme odor treatment, and HEPA-rated vacuuming, all performed at your location. For anyone dealing with heavy embedment or allergy concerns, professional interior detailing is the route that actually solves the problem rather than managing it.
Key Takeaways
Agitation breaks the fiber bond that holds embedded pet hair in place; without it, even the most powerful vacuum only removes surface hair.
| Point | Details |
|---|---|
| Agitate before you vacuum | Mechanical agitation with rubber tools or a pumice stone must come before extraction — suction alone won't free embedded hair. |
| Work dry, then wet | Always remove hair dry first; wetting fibers before extraction increases adhesion and makes the job significantly harder. |
| Match tool to fabric | Use rubber tools on delicate fabrics and pumice or drill brushes only on durable low-pile carpet — test a hidden spot first. |
| Treat odor and allergens separately | Enzyme cleaners and HEPA extraction address dander in foam and carpet backing; masking fragrances do not. |
| Living Waters Auto Wash LLC | Offers mobile pet hair extraction with professional agitation, enzyme treatment, and HEPA vacuuming in Boca Raton, Pompano Beach, Coral Springs, and Parkland. |
The mistake most people make with pet hair removal
The most common mistake is treating the vacuum as the primary tool. It isn't. Vacuuming is the last step in a sequence, not the first, and running a vacuum over unagitated hair is mostly theater. The hair stays in the pile; the vacuum picks up the loose stuff on top and leaves the embedded layer untouched.
The second mistake is wetting the surface before dry removal. Water makes hair cling harder to fibers. Pros who work on heavily soiled vehicles use moisture only after dry agitation and extraction are complete, and only as part of a hot-water extraction process, not as a pre-treatment.
If there's one thing worth taking from the professional workflow, it's this: slow down and agitate first. Short, directional strokes with a rubber tool, a crosshatch pass, and then the vacuum. That sequence works on a $5 rubber glove the same way it works on a $500 professional brush kit. The physics are the same.
Living Waters Auto Wash LLC brings the detail to your door
Pet hair that's been building up for months doesn't come out with a lint roller and a prayer. Living Waters Auto Wash LLC handles the full extraction process at your location throughout Boca Raton, Pompano Beach, Coral Springs, and Parkland, no shop drop-off required.

Their mobile team arrives with professional agitation tools, commercial-grade HEPA extraction equipment, and enzyme odor treatments that neutralize dander at the source rather than covering it up. Every service is backed by their 5-star local reputation and a team trained to work on everything from cloth seats to high-end upholstery without causing damage. For pet owners dealing with heavy embedment, persistent odor, or allergy concerns, this is the faster, cleaner route. Book your express interior detail or check availability in your area at lwautowash.com.
Useful sources
- Pro pet hair removal car detailing techniques — The Mobile Buff: Covers the agitation-first methodology and why vacuuming is a finishing step.
- Pet hair removal from car seats and carpets — Deelway Mobile Detailing: Explains dry-first sequencing and professional extraction equipment.
- Pet hair removal from cars — HALO Mobile Detailing: Details compressed air techniques, PSI ranges, and time expectations.
- Best ways to remove pet hair from furniture and clothes — PetCareLab: Fabric-matching guidance and tool safety by surface type.
- How to remove pet hair from car — RabbitWash: Rubber glove technique and static-friction method for delicate fabrics.
- Best pet hair remover tools — Consumer Reports: Hands-on testing of Lilly Brush, ChomChom, and other tools across fabric types.
- How detailing improves air quality in cars — Living Waters Auto Wash LLC: How HEPA extraction and professional cleaning reduce cabin allergens.
- How detailers restore pet-damaged upholstery — Living Waters Auto Wash LLC: Fabric repair and safety considerations after pet damage.