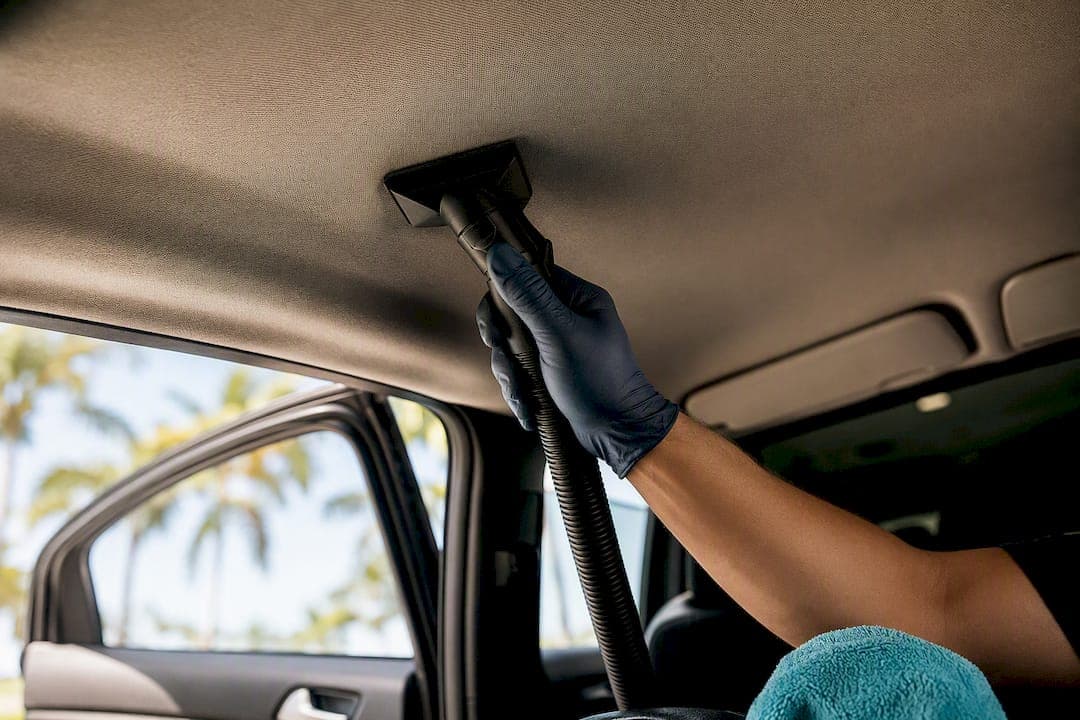
Yes, you can usually remove mold from your car yourself if it's confined to visible surfaces and hasn't reached the HVAC system or seat foam. Start by parking with the doors open in a ventilated area, put on an N95 respirator and nitrile gloves, and HEPA-vacuum every loose spore before you touch a single cleaner. Skip that order and you're just redistributing spores.
TL;DR:
- Visible mold on surfaces like mats, seats, or panels can often be treated DIY if no strong odor or spread is present.
- Always vacuum with a HEPA vacuum before applying any cleaning agents to prevent spores from spreading.
- Use appropriate cleaners for porous and hard surfaces, avoiding bleach on fabric and steam cleaners without proper extraction to prevent deeper moisture issues.
- Ventilate the vehicle with sunlight, run AC on recirculate, and replace the cabin filter after treatment to prevent mold recurrence.
- Seek professional remediation if mold coverage is extensive, involves the HVAC system, or if anyone in the household has health sensitivities.
Table of Contents
- Why Mold Grows In Cars And How To Judge Severity
- Safety First: PPE, Airflow, And When To Stop DIY
- How To Remove Mold From A Car Step By Step
- Treating Vents, The Evaporator Coil, And Cabin Filter
- Drying Completely And Confirming The Job Worked
- Preventing Mold From Coming Back
- When It's Time To Call A Professional
- How Professionals Approach Mold Remediation In Vehicles
- Our Take: The Order Of Operations Matters More Than The Product
- Skip The Weekend Project: Book Mobile Mold Remediation
- Sources
Why Mold Grows In Cars And How To Judge Severity
Mold needs three things to colonize a car interior: trapped moisture, an organic surface to feed on, and time. Spilled drinks that soaked into carpet, a cracked window left down during a storm, a clogged sunroof drain, wet gym bags tossed in the back seat, or a car parked for weeks without airflow all create the same result. Humidity gets locked in against fabric and foam, and within 24 to 48 hours in the right conditions, spores start colonizing.
Not every case calls for the same response. Some jobs are a weekend project; others need a technician with containment equipment.
- A small patch of surface mold on a floor mat or door panel, with no strong odor, usually responds well to DIY treatment.
- A musty smell that lingers after the car sits in the sun, or that gets stronger when the AC kicks on, often signals the HVAC system or evaporator coil is involved.
- Visible colonies spreading across seat fabric, headliner, or carpet padding, especially with a persistent odor, point toward a bigger job than a spray bottle can fix.
The decision rule is simple: if the smell shows up through the vents, or if you can see mold on more than one surface type, treat that as your signal to at least consider a professional assessment before you start scrubbing.
Safety First: PPE, Airflow, And When To Stop DIY
Mold spores go airborne the moment you disturb them, and a closed car cabin is close to the worst possible place to do that work without protection. Gear up before you open a single door.
- Wear an N95 or P100 respirator, not a paper dust mask. It won't filter mold spores effectively.
- Put on nitrile gloves and eye protection. Skip cotton clothing you plan to wear again that day; spores cling to fabric.
- Work outdoors or in a garage with the door wide open and fans pointed away from your house, not toward it.
Some situations aren't DIY territory, no matter how confident you feel with a scrub brush. Stop and call a professional if you see extensive black mold coverage, if anyone in the household has asthma or a compromised immune system, or if the smell is coming through the air vents rather than off a visible surface.
Pro Tip: Crack every window before you start vacuuming, even outdoors. Negative pressure inside a closed cabin pushes disturbed spores right back into the seats you just cleaned.
How To Remove Mold From A Car Step By Step
Order matters more than product choice here. Skip a step, and you're likely to just move spores from one surface to another instead of removing them.
1. Ventilate and let the sun work first. Park in direct sunlight with all doors and the trunk open for 15 to 20 minutes before you touch anything. UV exposure and airflow both help knock down surface moisture and make spores easier to capture.
2. HEPA-vacuum every surface, top to bottom. This is the step people skip, and it's the one that matters most. A HEPA H13 vacuum captures 99.95% of particles down to 10.3 microns, which is exactly the size range mold spores fall into. A standard shop vacuum just blows them around the cabin instead of trapping them. Work from the headliner down to the floor mats, hitting seams, seat tracks, and vent grilles where spores collect.
3. Choose your treatment based on the surface. For porous fabric, carpet, and padding, Concrobium or an enzyme-based cleaner works better than bleach, because bleach adds water without penetrating the roots mold sets into foam and fibers. Diluted white vinegar is a reasonable budget option for spot treatment, but spot-test an inconspicuous area first to check for discoloration. For hard surfaces like dashboard plastic, door panels, and console trim, a mild antimicrobial cleaner and a microfiber cloth handle the job without much fuss, similar to the leather-safe methods detailers use on seats.
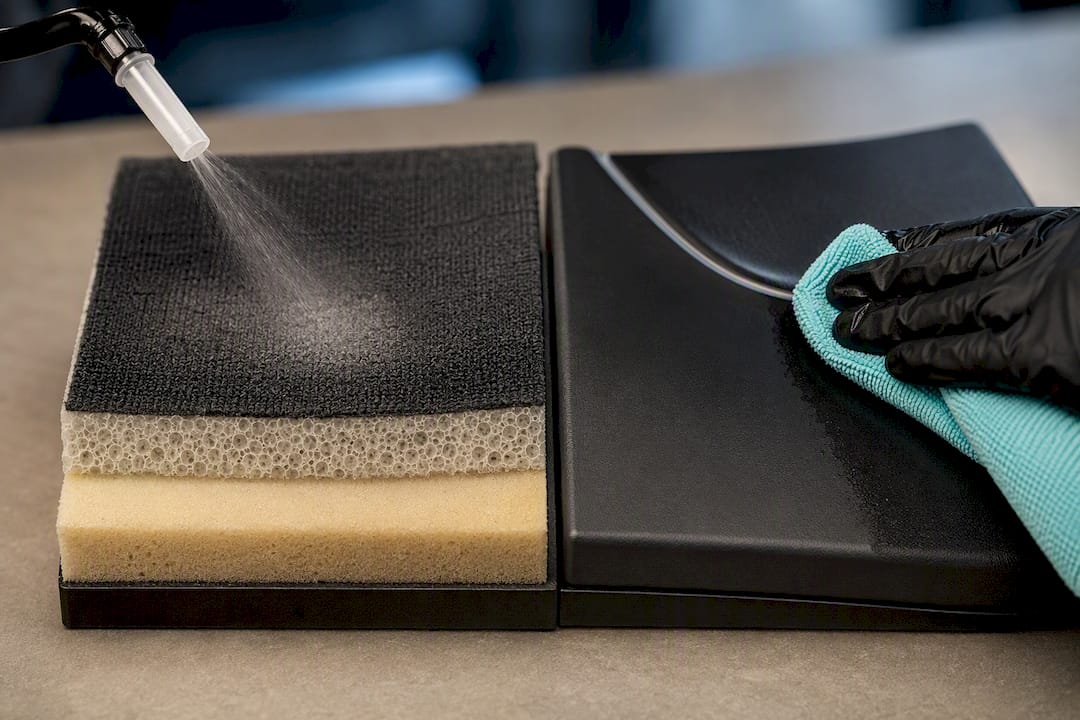
4. Let the product dwell, then repeat if needed. Most antimicrobial sprays need 10 to 15 minutes of contact time to actually kill spores rather than just wipe them around. On heavily soiled fabric or padding, one pass rarely finishes the job. Plan on two or three treatment cycles, checking after each one.
5. Scrub with the right technique for the material. On plastic and trim, a soft-bristle brush and circular motion lift residue without scratching. On fabric and carpet, blot rather than scrub, working in short strokes and switching to a clean section of cloth often so you're not just smearing spores across the surface. This is the same extraction logic detailers use when pulling embedded debris out of upholstery: work the fibers, don't flood them.
Two things to actively avoid here. First, bleach on porous materials is a common instinct, but it's counterproductive: it doesn't reach the roots in foam or fabric backing, and it leaves the surface wetter than when you started. Second, steam cleaners without immediate high-powered extraction can drive moisture deeper into seat foam and set up a worse regrowth problem than the one you started with, unless you have commercial-grade extraction equipment on hand.
6. Handle removable items separately, then dry everything. Floor mats, seat covers, and any fabric item you can pull out should be laundered on hot or discarded if the mold has set deep. Swap the cabin air filter now rather than later. Bag your PPE and disposable wipes and toss them outside, not in an indoor trash can, since spore-laden material shouldn't sit inside your house.
A full moderate-severity DIY cycle, from first vacuum pass to final dry, typically runs 4 to 6 hours spread across a day, most of it waiting on dwell time and drying rather than active scrubbing.
Treating Vents, The Evaporator Coil, And Cabin Filter
Cleaning the visible cabin and ignoring the HVAC system is how mold comes back within a couple of weeks. The evaporator coil sits behind the dashboard and stays damp every time the AC runs, which makes it one of the most reliable recurrence sources in the entire vehicle. Spores generated there travel through the ductwork and settle right back onto the seats you just cleaned.
- Spray an automotive HVAC disinfectant directly into the external intake vents, usually located at the base of the windshield.
- Run the AC on recirculate while the treatment works through the system, then switch to fresh-air mode to flush residue out rather than recirculating it.
- Swap the cabin air filter immediately after treatment, and consider upgrading to a higher-efficiency filter if your climate runs humid for much of the year.
- If the smell persists after this treatment, the evaporator coil itself may need access and cleaning that only a shop with the right tools can perform.
Reaching the coil usually means pulling part of the dashboard apart, which is a job for a professional unless you're comfortable with automotive disassembly.
Drying Completely And Confirming The Job Worked
Skipping this stage is the single most common reason mold comes back. Complete drying prevents regrowth; leaving any dampness behind essentially resets the clock on colonization.
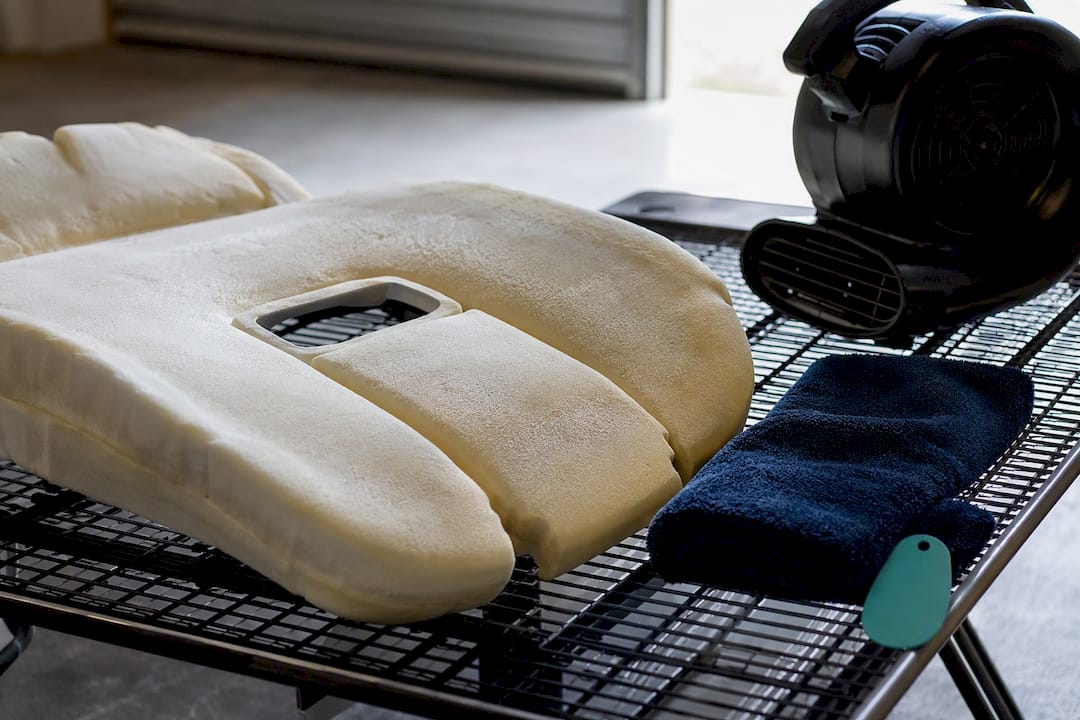
- Run fans pointed into the cabin and, if you have one, a dehumidifier positioned inside with the doors cracked for airflow.
- Budget roughly 24 hours of active drying time for a moderate case, longer if carpet padding absorbed significant moisture.
- Check your work at the 24 and 48 hour marks: smell the cabin, look at treated surfaces under good light, and press a hand into the carpet and padding to feel for lingering dampness.
Pro Tip: Press your palm flat against the carpet near the door sill and hold it for ten seconds. If it feels even slightly cool or damp compared to a dry section, moisture is still trapped underneath, and mold will likely return there first.
If padding stays wet after 48 hours of active drying, replacement is usually more practical than continued drying attempts, since foam that's absorbed enough moisture to stay damp that long has probably already started hosting new growth internally.
Preventing Mold From Coming Back
Cleaning up an infestation without fixing what caused it just buys you a few weeks. Finding and fixing the moisture source matters more than any product you spray afterward.
- Check your sunroof drain tubes, which run from each corner of the sunroof down through the pillars to the rocker panels. A clogged tube backs water up into the headliner instead of draining it outside.
- Clear a clogged drain by feeding a length of weed trimmer line or a soft wire gently down the tube from the sunroof corner until you feel it pop through.
- Inspect door and window seals for cracks or gaps, especially on cars over five years old, since worn weatherstripping is a common quiet leak source.
- Use moisture absorbers like DampRid or silica gel packs in the cabin during humid months or extended storage.
- Run the AC on fresh-air mode for the last few minutes of a drive before parking, which helps dry out residual condensation in the ductwork.
- Crack windows slightly for airflow only when the car is parked somewhere secure, and swap cabin filters on a regular schedule rather than waiting for a smell to show up.
| Prevention method | Best used for | Approximate upkeep |
|---|---|---|
| DampRid or silica gel packs | Humid climates, long-term parking, seasonal storage | Replace periodically as recommended by the product manufacturer or label |
| Sunroof drain check | Cars with sunroofs, after heavy rain seasons | Inspect periodically, especially after heavy rain seasons |
| Cabin air filter swap | All vehicles, especially in humid regions | At regular intervals recommended by your vehicle manufacturer or service manual |
| Door and window seal inspection | Vehicles over 5 years old | Periodically, for example during routine maintenance checks |
When It's Time To Call A Professional
DIY has real limits, and knowing where they sit saves you from spending a weekend on a problem that comes right back. Hand it off to a professional when the HVAC system or evaporator coil is contaminated, when mold has penetrated seat foam rather than just the fabric surface, when the infestation covers a large area or keeps returning after treatment, or when someone who regularly rides in the car has respiratory sensitivities.
Professional remediation for a car typically runs $200 to $600 depending on severity, with costs climbing higher if carpet or headliner replacement becomes necessary. That range usually covers containment setup, HEPA-filtered extraction, and antimicrobial treatment; full ductwork or evaporator access adds to the bill.
Before hiring anyone, ask these questions:
- Do you follow IICRC S520 remediation standards, and can you explain what that means for my car specifically?
- What containment method do you use to keep spores from spreading to other parts of the vehicle during treatment?
- Do you offer post-treatment testing or clearance verification, or is ozone treatment part of your process for HVAC-involved cases?
- What materials, if any, will likely need replacement rather than cleaning?
A provider who can't answer the S520 question clearly, or who wants to skip straight to spraying without inspecting first, probably isn't the right fit for anything beyond a surface wipe-down.
How Professionals Approach Mold Remediation In Vehicles
Mobile detailing crews handling mold jobs follow roughly the same sequence outlined above, just with better equipment and tighter control over contamination, as demonstrated in professional vehicle mattress cleaning in Dublin. Living Waters Auto Wash LLC's technicians use HEPA vacuuming as the first step on every mold-related job, followed by targeted antimicrobial application matched to the surface, whether that's fabric, foam, or hard trim. Because the service is fully mobile, treatment happens at the customer's home or office without dragging a contaminated car through a shop lobby first.
Waterless cleaning options reduce the risk of adding moisture back into padding during treatment, a mistake that undoes DIY effort more often than people expect. AC system treatment is typically bundled into interior remediation visits rather than sold as a separate add-on, which closes the loop on the vent-and-coil recurrence problem covered earlier. The company's 5-star local reputation across its Palm Beach County service area reflects a mobile model built around getting this specific job done right the first time.
Our Take: The Order Of Operations Matters More Than The Product
Most advice about car mold obsesses over which spray to buy. That's the wrong place to focus energy. The research here points to something less exciting but more important: the sequence you follow determines whether the mold actually leaves or just gets redistributed to a spot you'll notice again in three weeks.
HEPA vacuuming before any wet treatment is the step people skip most often, and it's arguably the most important one. Skip it, and you're pushing spores deeper into seams and vents with every wipe. The second most common failure point is drying. People clean thoroughly, feel satisfied, and then close the doors on a damp cabin overnight, undoing the entire job.
Where the reader should focus first: fix the moisture source before anything else. A perfectly executed cleaning cycle on a car with a clogged sunroof drain is a temporary win at best. If the smell involves the vents, or the infestation covers more than one material type, professional remediation isn't overkill. It's the faster path to actually solving the problem instead of managing it every few weeks.
— Living
Skip The Weekend Project: Book Mobile Mold Remediation
If HVAC involvement, seat-foam penetration, or a recurring smell has you past the point where a vacuum and a spray bottle will fix it, Living Waters Auto Wash LLC brings professional-grade remediation directly to your driveway or office parking lot across Boca Raton, Pompano Beach, Coral Springs, Parkland, and the rest of Palm Beach County. No hauling the car to a shop, no waiting on a hookup for water or power. The team shows up with everything needed, including HEPA extraction and targeted antimicrobial treatment matched to your interior's specific materials.

The mobile format matters most when time is tight or the smell has gotten bad enough that you don't want to keep driving the car while you figure out a fix. Technicians assess severity on-site, so you get a straight answer about whether this is a quick treatment or something that needs a follow-up visit for HVAC or padding work. Book a mobile detailing appointment and get a technician to your vehicle's location to handle the job properly the first time.
This article is general information, not a substitute for advice from a qualified doctor. Consult a qualified healthcare professional about your own circumstances before acting on anything here.
Sources
- Car Mold Removal Guide (2026) | Out of the Mold
- Engineerskill
- How to Clean Mildew Out of Car: Safe Steps That Work - CleaningBro
- Vehicle Mold Removal and Remediation - Fort Myers, FL | iMold